


Articles, Tips & Kitchen Inspiration
Explore the full collection of McCormick articles, where expert tips, how-tos, and flavor-packed ideas turn everyday meals into memorable moments.


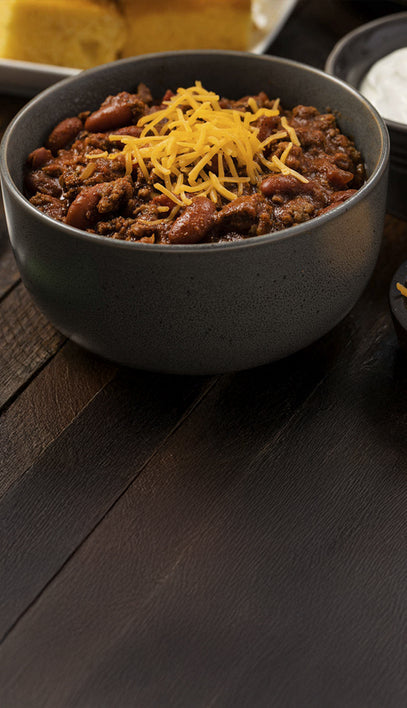
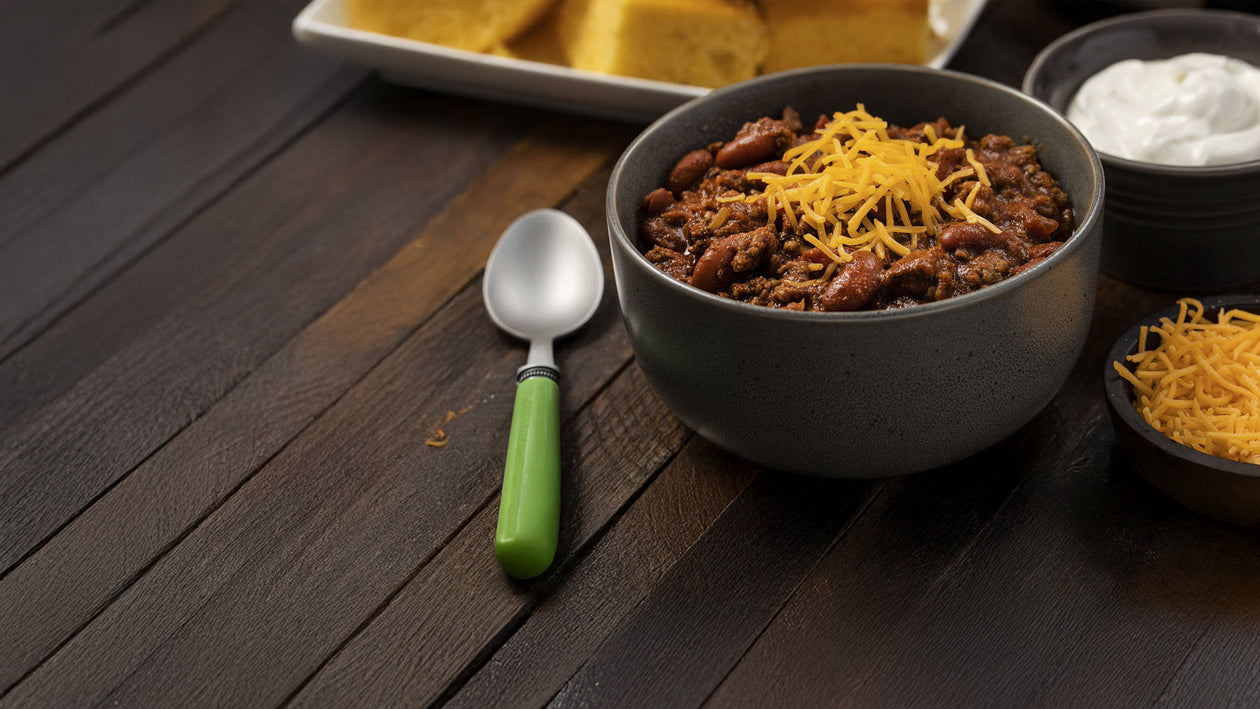
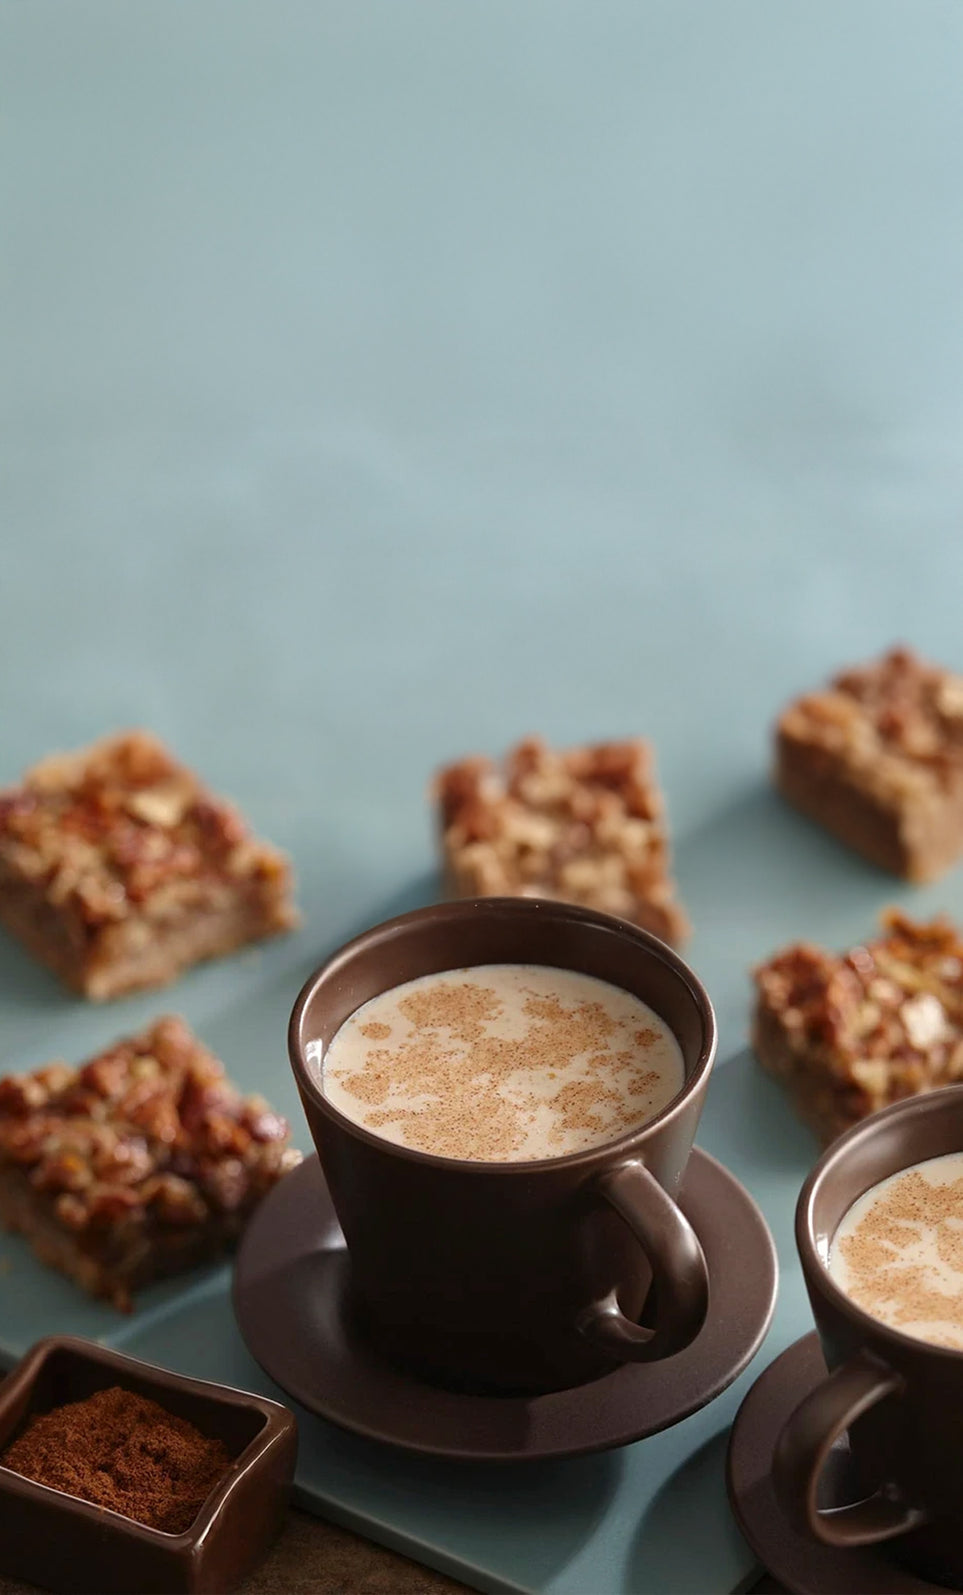
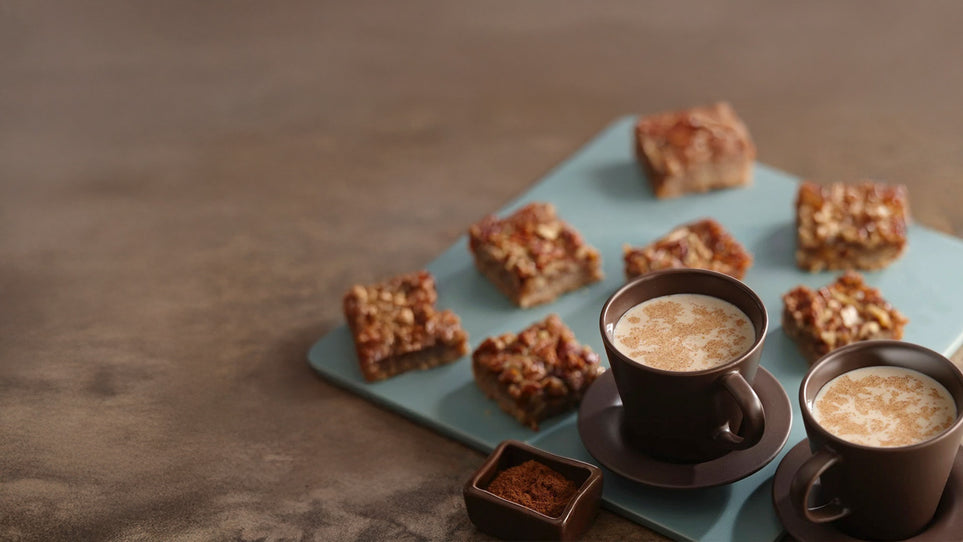
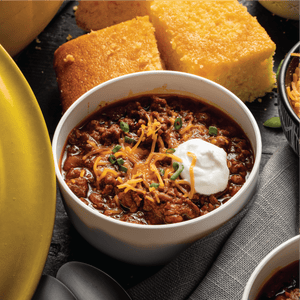
Slow Cooker Comforts Made Simple


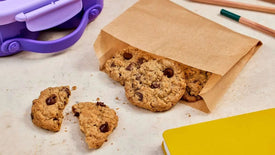


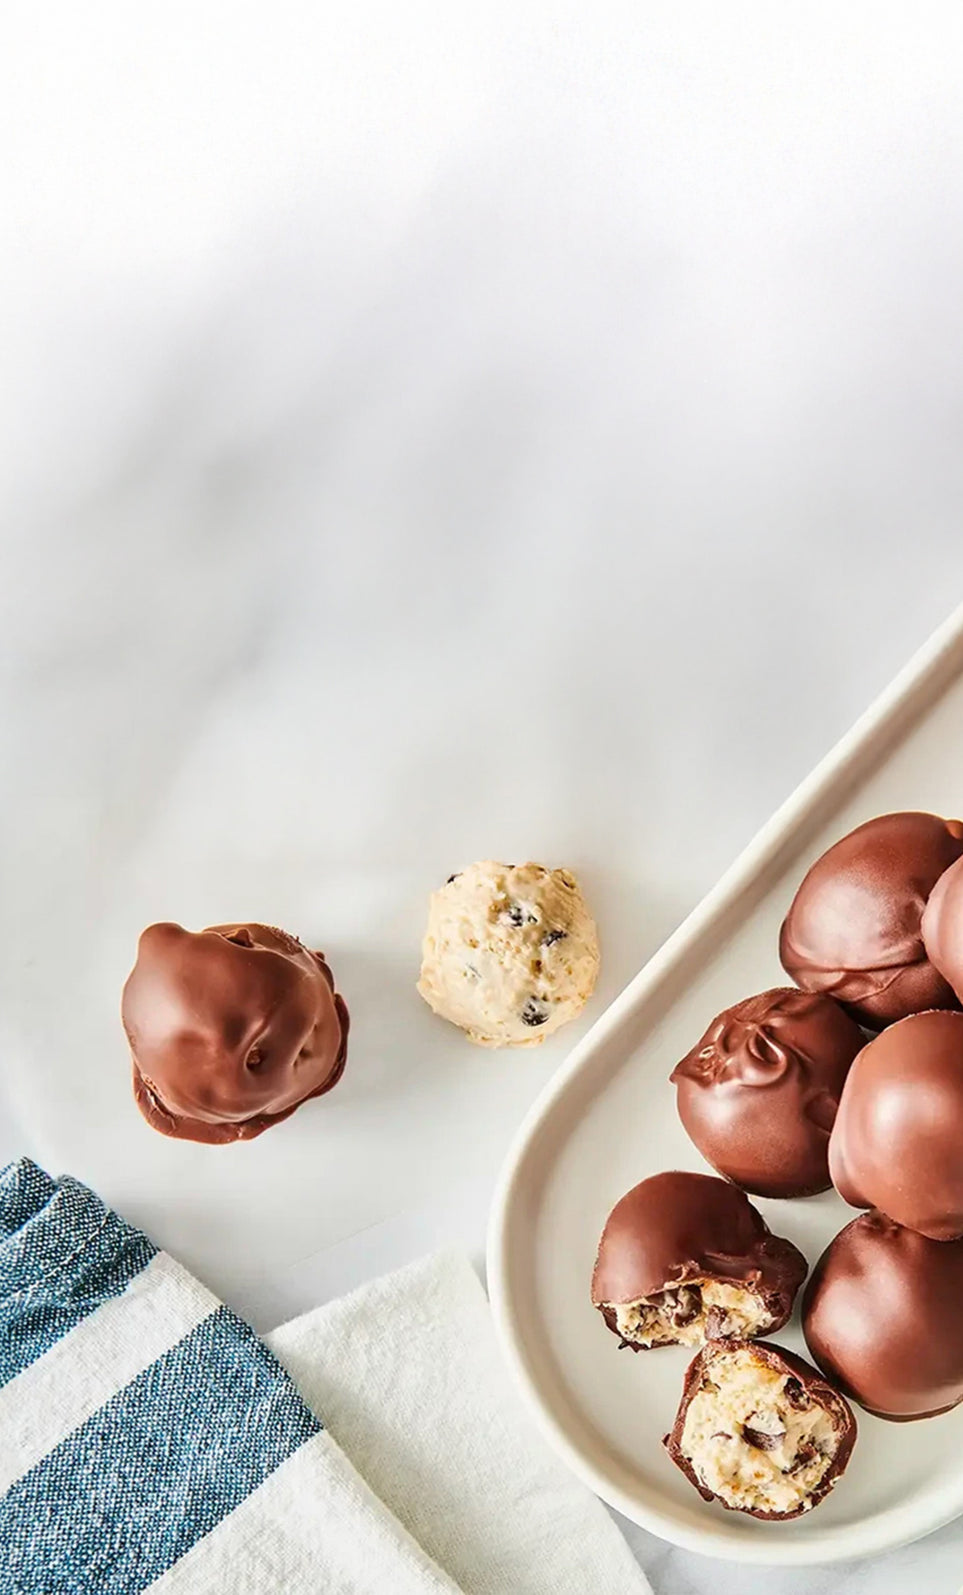
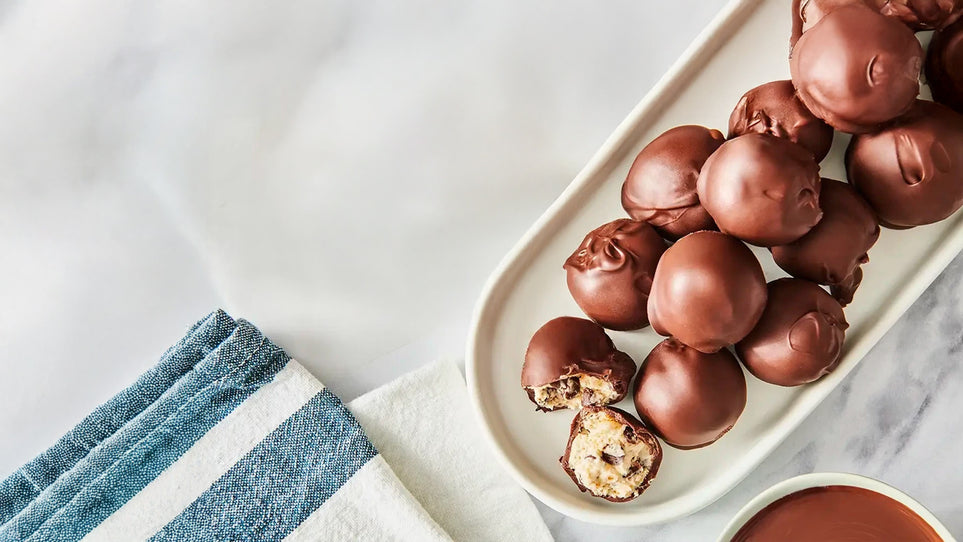
Snacks (and Treats) for School Days
Because not every snack has to be carrots and dip. Try fun, unexpected recipes, like Chocolate Covered Cookie Dough, for a back-to-school boost.


You Might Also Like

Here's the Secret to Amazing Smoked Brisket

A Harvest Feast: Fall Dinner Ideas for Chilly Evenings

Nothing Disappears as Quickly as a Pasta Salad

How to Make White Chicken Chili

You'll Fall in Love With These Fall Squash Recipes

How to Cook Lamb Chops: A Comprehensive Guide

15 Easy Pumpkin Dessert Recipes For The Holidays
