


Articles, Tips & Kitchen Inspiration
Explore the full collection of McCormick articles, where expert tips, how-tos, and flavor-packed ideas turn everyday meals into memorable moments.


Strawberry Picking Guide & Top Strawberry Recipes


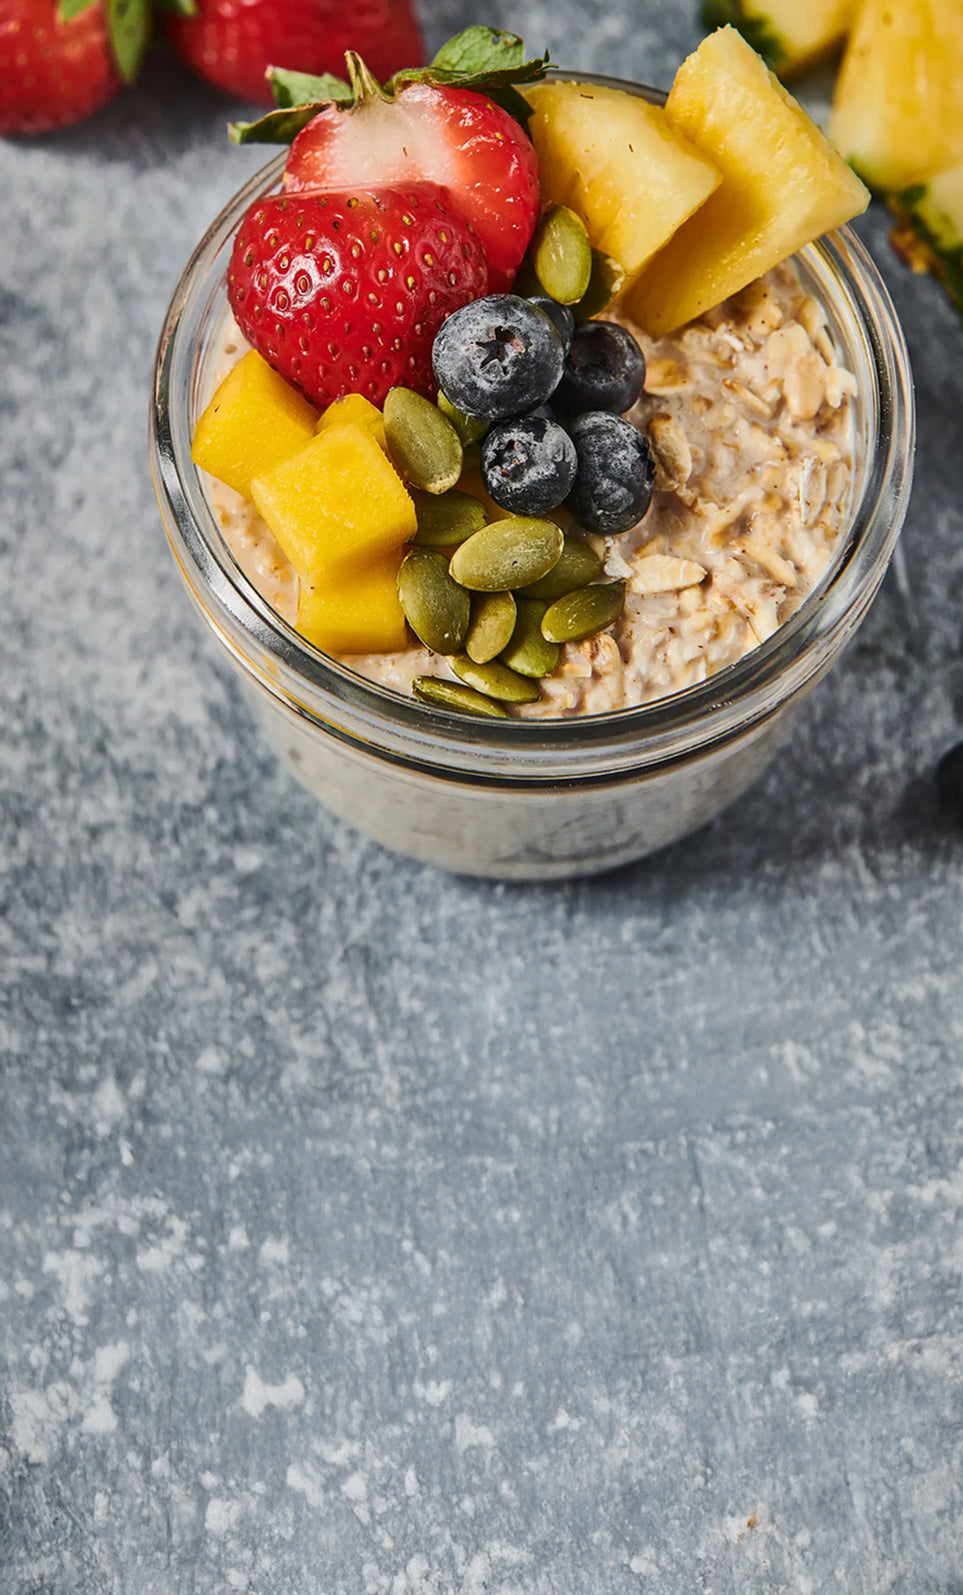
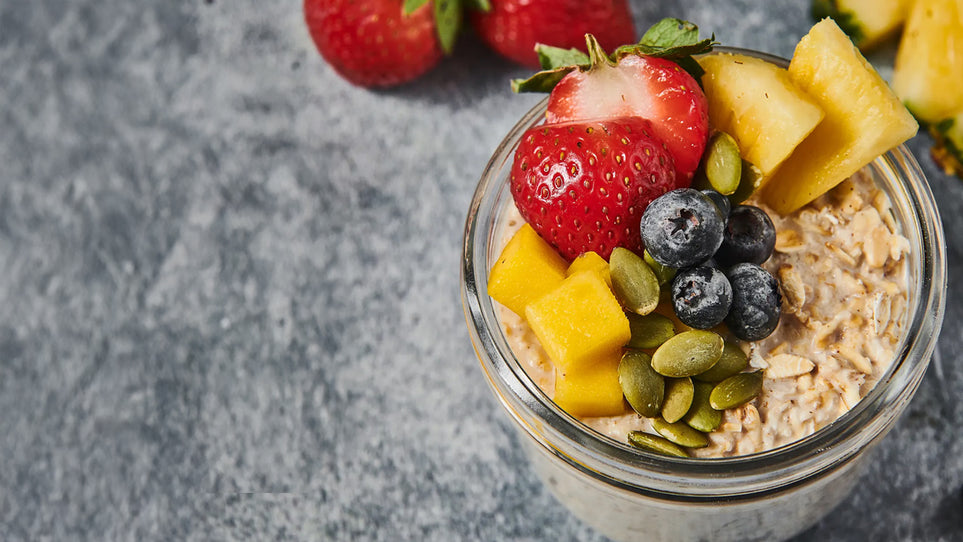
15 Easy Breakfast Meal Prep Ideas
Pressed for time in the mornings? From overnight oats to egg bakes. These quick and creative ideas make breakfast one less thing to worry about. Get the fuel you need without missing a beat.


You Might Also Like

Spring Clean Your Spice Cabinet

Perfectly Seasoned Chicken Recipes for Weeknight Dinners

Sugar Substitutes: What They Are and How to Use Them in Everyday Cooking

Baking Substitutions: How to Make Smart Swaps Without Sacrificing Results

How to Make Sourdough Starter: A Complete Guide for Beginners

Cupcake Recipes: How to Make Cupcakes for Every Occasion

Rib Recipes: How to Grill Ribs for Tender, Flavorful Results
