


Articles, Tips & Kitchen Inspiration
Explore the full collection of McCormick articles, where expert tips, how-tos, and flavor-packed ideas turn everyday meals into memorable moments.


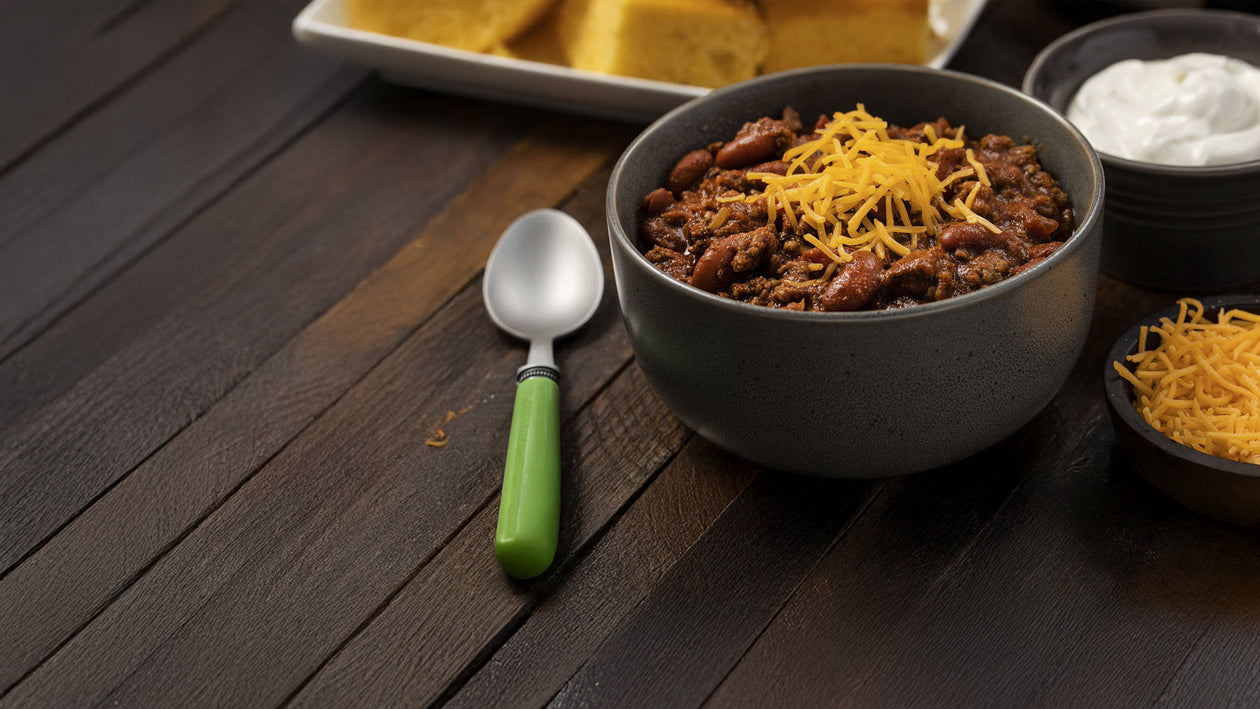
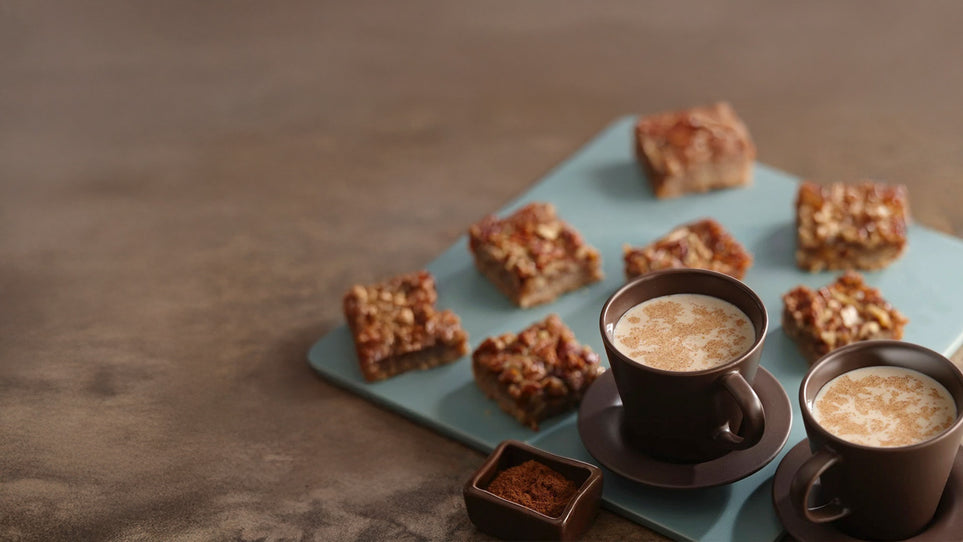
Slow Cooker Comforts Made Simple


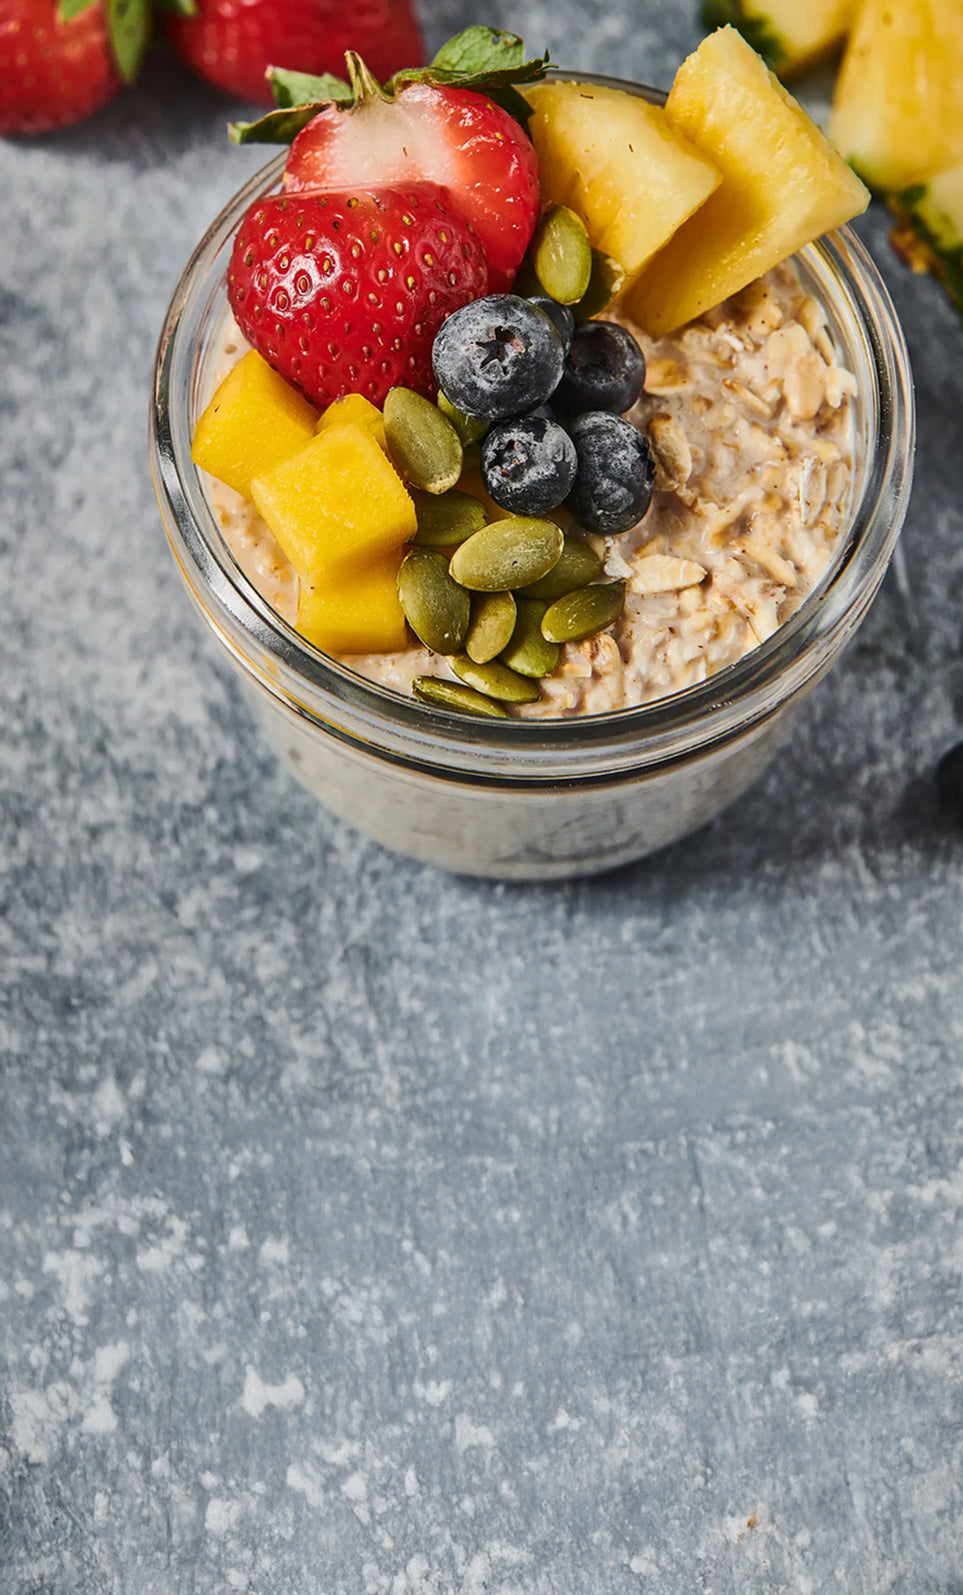
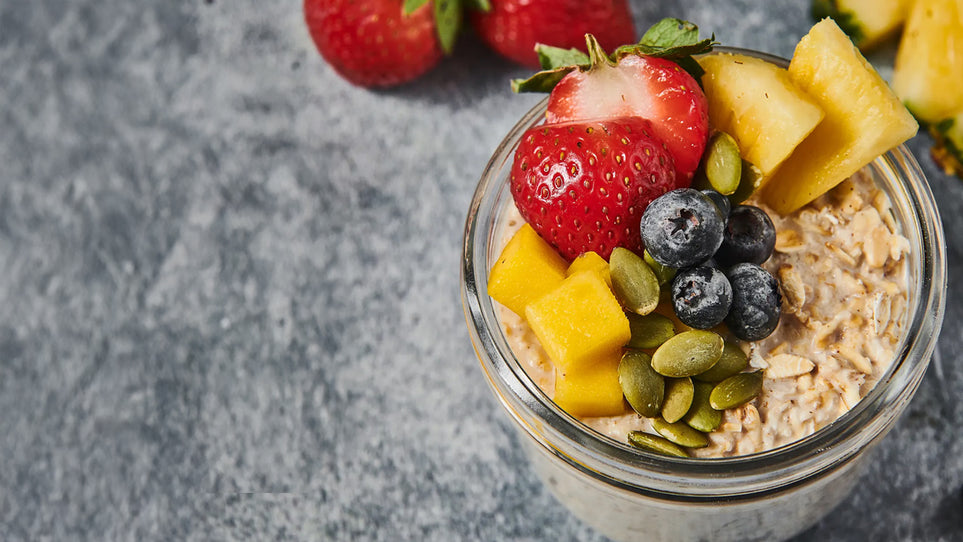
15 Easy Breakfast Meal Prep Ideas
Pressed for time in the mornings? From overnight oats to egg bakes. These quick and creative ideas make breakfast one less thing to worry about. Get the fuel you need without missing a beat.


You Might Also Like

Perfect Winter Recipes

Cooking Salmon? Avoid these Mistakes

How to Make Tomato Pie

Holiday Side Dishes That Will Steal the Show

Quick Tip: Recycling Your McCormick Grinders

Here's the Secret to Amazing Smoked Brisket

A Harvest Feast: Fall Dinner Ideas for Chilly Evenings
