Although relatively simple to make, scrambled eggs can easily go wrong if you don’t use the right technique. Too much heat can result in a rubbery, dry texture, while using a whisk, believe it or not, actually breaks them down too much.
Luckily, our associate food editor Kelsey Youngman has shared her best way for making perfect scrambled eggs every time, and it’s incredibly simple. All you need is a few eggs, salt, butter, and some milk, if you choose—within a few minutes, you’ll have the breakfast of your dreams. Read on for her step-by-step guide.
Crack the eggs on a flat surface
Since she’s cooking for two people, Kelsey grabs six eggs. She cracks them all on a flat surface before adding them to a bowl—this helps avoid shell pieces breaking off into the mixture.
Don’t be afraid to pre-salt them
Next, she adds a quarter teaspoon of salt to the eggs (you can adjust according to your preference). This helps keep a little bit of the moisture in while they cook.
Add a splash of milk
While totally optional, this also helps add moisture to the eggs. In lieu of milk, you can use cream or stock, too.
Use a fork, not a whisk
If you use a whisk to beat the eggs, it will break them down so much that you’ll end up with a creamier texture as opposed to a fluffier texture, which Kelsey prefers. To achieve the latter, go with a fork instead, and use an ellipse motion as you mix the whites and the yolks. You want to beat them until they’re fully incorporated so you avoid stripes of white in the scrambled eggs.
Cook in a non-stick pan …
Kelsey recommends using a non-stick pan so that the eggs don’t attach to the surface while you cook. As an added bonus, it also allows you to use less oil or butter, so your eggs aren’t swimming in fat. In this case, Kelsey uses a little bit (two tablespoons) of butter with these eggs to add some flavor.
… and make sure it’s cold
For the best scrambled eggs, add them and the butter straight to a cold pan. Adding them to a hot pan, Kelsey explains, would cause the protein in the eggs to cook right away on the outside but stay cold in the middle, resulting in a “skin.” (Which yes, is just as gross as it sounds.) Starting in a cold pan, on the other hand, allows you to control the cooking process, so you gradually build your way up to soft, tender, creamy eggs.
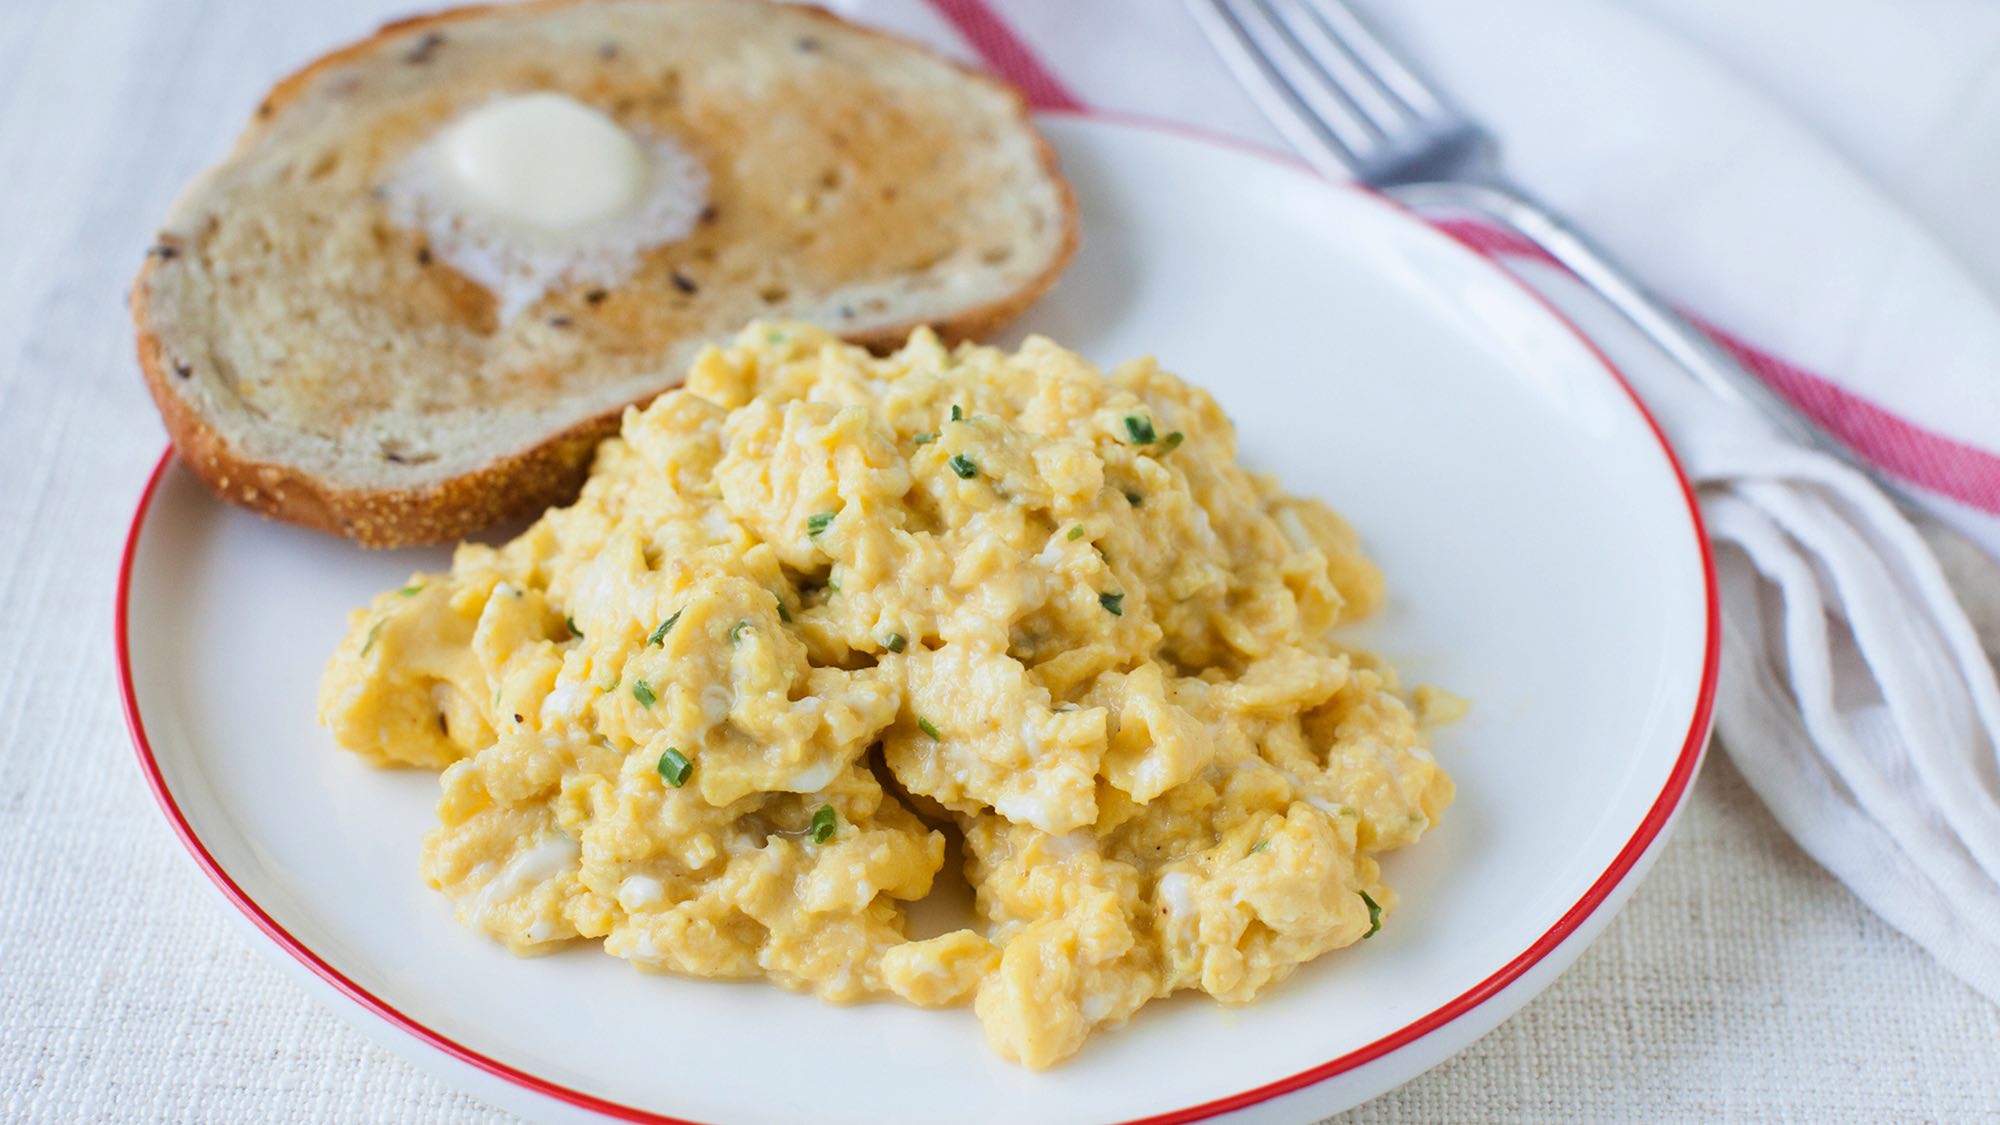
Photo: McCormick
Keep the heat relatively low
Once everything is in the pan, turn the burner on to a moderately low-medium heat. You want enough heat to cook the eggs, but not enough that they’re being scorched. Push the eggs around constantly—with a silicone spatula, so you don’t scratch your pan—and you’ll notice little curds starting to form. As you continue to shuffle them around, the scrambled eggs will pile up. Just make sure you release the cooked part of the egg back into the mixture as you stir—this helps you avoid browning and overcooking them.
Let them finish cooking off the stove
When Kelsey’s eggs are almost done, she notes that some of them are still a little wet, while other parts are more set. You can still turn off the heat thanks to carryover cooking—there will still be heat trapped in the pan and in the eggs, so they’ll still cook for a little while even after you take them off the burner. This achieves the slightly wet, soft, and tender consistency she likes, but if you prefer them more cooked, you can keep them on the stove a little longer.
The finishing touch
When Kelsey makes her plate, she adds a sprinkle of chives to season the eggs, and then digs in. The dish comes together in a few minutes, so you can easily make them for breakfast, or as a quick weeknight dinner, too—even for company.
This article was written by Bridget Hallinan from Food & Wine and was legally licensed through the NewsCred publisher network. Please direct all licensing questions to legal@newscred.com.