Graham crackers are the queen of the crumb crust world, but she would never be able to hold pies, cheesecakes, and tarts together without the support from her unwavering partner, butter. Butter is the necessary fat that acts as an adhesive, helping the sugar and all of those fine crumbs stick together, but also providing flavor, and acting as the heat conductor to set the crust in its shape when baking. It’s a glorious union already, but you can make your crumb crusts even better with one simple trick: Brown your butter first.
Browning butter is a simple process of cooking butter in a pot or pan for about 10 minutes until the milk solids begin taking on a toasty brown color. Once the butter reaches this state, take it off the heat and use it for cooking, dipping bread—or stir it into your crumb crust, of course. The process is basic but the flavor is magnificent. Butter already has a lovely flavor, but once you brown it, it’s like butter in HD. The richness is intense and concentrated, along with notes of nuts and caramel: all of the things that happen to be lovely paired with graham crackers or other cookie crumbs.
To make the most decadent, browned butter crumb crust for your dessert, start with your crust recipe of choice, graham cracker or cookie crumb. Measure out the butter with an additional tablespoon or two. The browning process will take a good deal of water out via evaporation, so you’ll end up with less than you start with, and you want to account for that in your measurements. Cut the butter into pieces (to speed up the melting), and place it in a pot or pan over medium heat. Although you can use any pot or pan to do this, I like to use a stainless steel pan, so I can keep an eye on the browning, but any pan with a light finish will allow that. The butter will melt and begin to steam, bubble, and foam. You can give it a stir or swirl the pan during this time but it’s not necessary.
As the bubbling subsides, you’ll see the milk solids settle down to the bottom of the pan and start browning. Once you’ve achieved a light brown color, take the butter off the heat and measure it in a heat-safe measuring cup to make sure you have enough for the recipe. Pour it in with the rest of the ingredients and proceed with the recipe as directed.
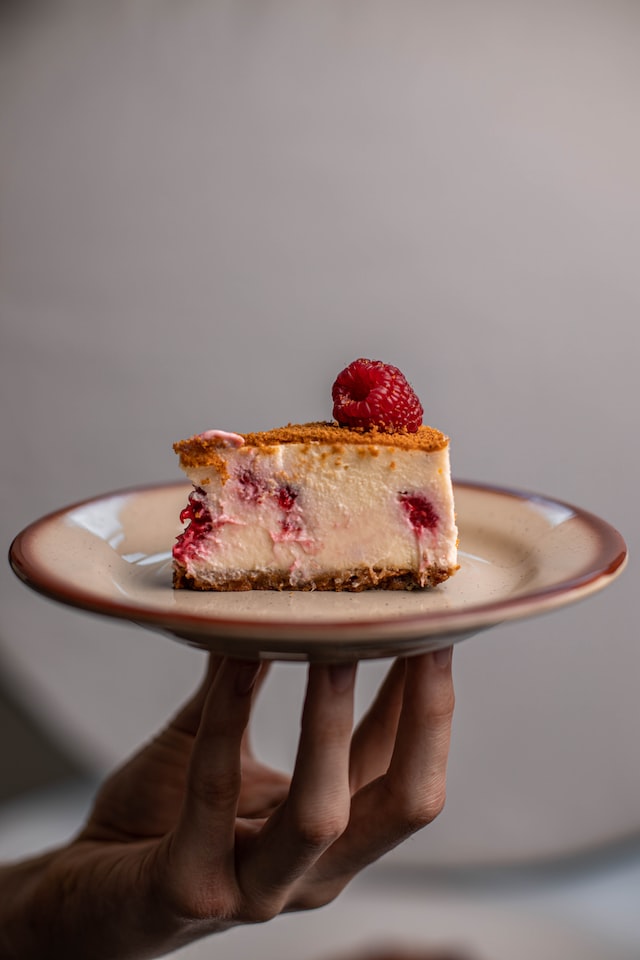
Photo by Aneta Voborilova
Note that browned butter can scorch, so don’t walk away from it while it’s cooking. I recommend taking it off the heat a shade lighter than the color you’re looking for, because the carryover heat will continue to toast the milk solids. Speaking of, don’t forget the milk solids! It may look like a nasty goop that you want to leave out of your crust, but those toasted bits are where all the flavor’s at. Your finished dessert will have a noticeably stronger, nuttier butter flavor, and you might not be able to stop adding browned butter to desserts. Pair this crust with cheesecakes, spiced desserts, anything with nuts, and chocolate.
This article was written by Allie Chanthorn Reinmann from Lifehacker and was legally licensed through the Industry Dive Content Marketplace. Please direct all licensing questions to legal@industrydive.com.