Hey, we said it before, and I will now say it again: We’re about to be getting up into apple season, and that’s something to get pumped about. One of my top recommendations for utilizing a portion of your autumn apple bounty is making a big batch of apple chips (or numerous big batches of apple chips). These delightfully airy-crisp, oven-baked fruit chips are a fairly hands-off snack to prepare, and make for an exceptional way to enjoy some full-on, concentrated apple flavor. Beyond being 1. easy and 2. a delicious celebration of season, DIY apple chips are 3. an awesome healthy snack to keep around the house and pack into lunches.
So let’s talk about how to make these things and make ’em right. There are definitely a few details that can make your apple chip-making more likely to be a totally seamless kitchen project. Here are 6 of them:
1. Choose a good apple.
How’s that for ambiguous advice?
No worries, the “good apple” qualifications for making chips are pretty straightforward. First, be sure to choose apples on the larger end of the size spectrum. These chips will shrink up quite a bit while baking, so if you have a variety of sizes to choose from, go with some of your more robust apples for this project so that you end up with reasonably sized chips. The other factor you’ll want to consider is the variety of apple you’re using. Basically, my advice is to go with most anything besides a red delicious… these apples are softer, and (IMO) blatantly not delicious. Red delishes have a muted flavor that won’t really shine here, but Granny Smiths, galas, and Fujis are all solid choices for chips.
2. Slice them thin and consistently.
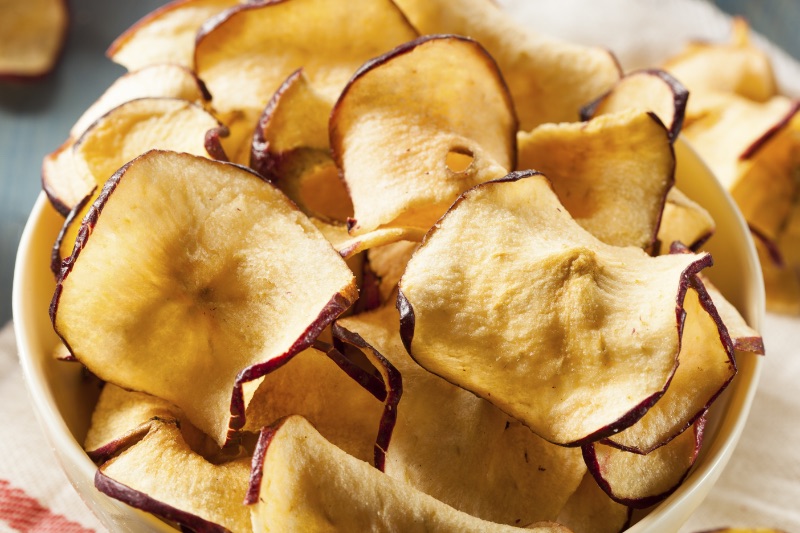
Another way to phrase this tip is: “Get yourself a mandolin and get comfy using it.” You can certainly cut your apple into “chips” using a very sharp knife, but you may have a tough time getting them all thin enough–i.e. about 1/16th of an inch–to crisp properly (I sure would). Using a mandolin makes this precision slicing easy, helps to guarantee consistency (so that they are all the same thickness and ultimately end up with the same final texture), and makes the slicing portion of prep time go exponentially faster. If you’re not used to working with a mandolin, be sure to get well-accustomed to it using the guard; it’s an awesome and powerful kitchen tool, but those blades are not messing around.
Chinese Five Spiced Apple Chips
3. Just know, low and slow is the way to go.
There’s no rushing this process. A low oven temperature (225°) paired with a slow cook time (about 1 hour and 45 minutes) is the only way this is going to work out. This gentle heat and patience combo allows your oven to dehydrate the apple chips rather than caramelizing and burning their natural sugars. It’s all good, though. You don’t have to fuss with them once they’re in the oven and this process will make your kitchen smell amazing.
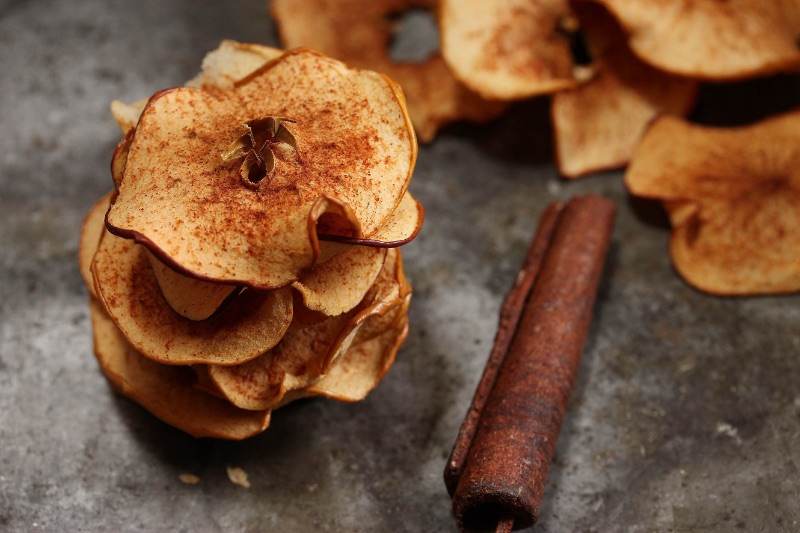
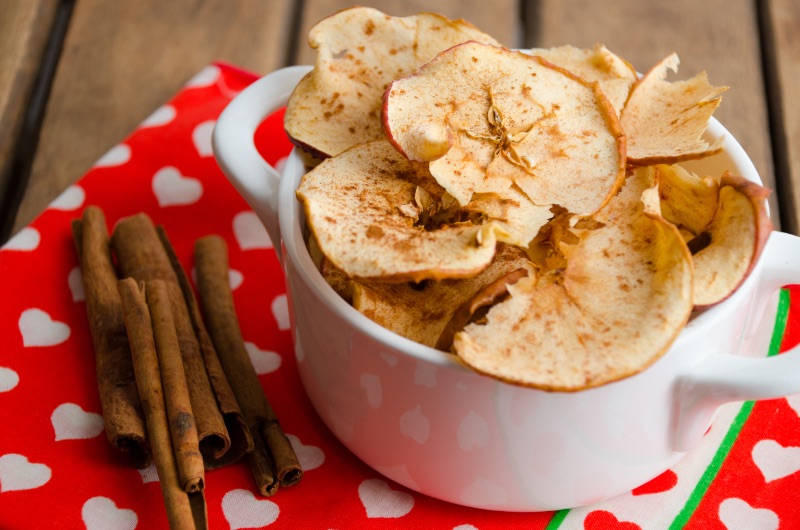
4. Don’t be afraid to spice things up.
Break out the sugar, spice, and whatever else you think would be nice to add a little personality to your chips. We especially enjoyed kicking up a typical fall flavor combo with a little heat for these Fuji Apple Chips with Ancho Chile Cinnamon Sugar, and bringing something a touch more dynamic to sweet-tart Granny Smith apples for our Chinese Five Spiced Apple Chips.
5. Also, don’t forget to dip.
There’s certainly nothing wrong with opting to leave your apple chips unseasoned (they’re still going to be delicious and so appley), but chips with no dip? Come on. You know better than that. This light, and delicately tangy-sweet Lemon-Honey Mint Yogurt Dip goes great with both plain and seasoned chips, as the rich floral honey and refreshing mint are both exceptional flavor partners to apple. You can also go with a caramel dip for something a little more decadent.
6. Remember that the cooling process is as important as the baking process.
I know that as soon as your chips are out of the oven, you’re going to be eager to get grabbing… resist. If you want the ultra-crunchy chips that rival anything you’ll find on supermarket shelves, allowing them to cool properly is a must. The good news is, it’ll only take about 20 minutes for them to cool completely. You can find something to occupy your attention for 20 minutes, I have faith–wash some dishes or something.
Once your chips have cooled and you’ve gotten your initial fill, store them in an airtight container for up to 3 to 4 days.
This article was written by darcyslenz from Food & Wine and was legally licensed through the NewsCred publisher network. Please direct all licensing questions to legal@newscred.com.