


Articles, Tips & Kitchen Inspiration
Explore the full collection of McCormick articles, where expert tips, how-tos, and flavor-packed ideas turn everyday meals into memorable moments.


Strawberry Picking Guide & Top Strawberry Recipes


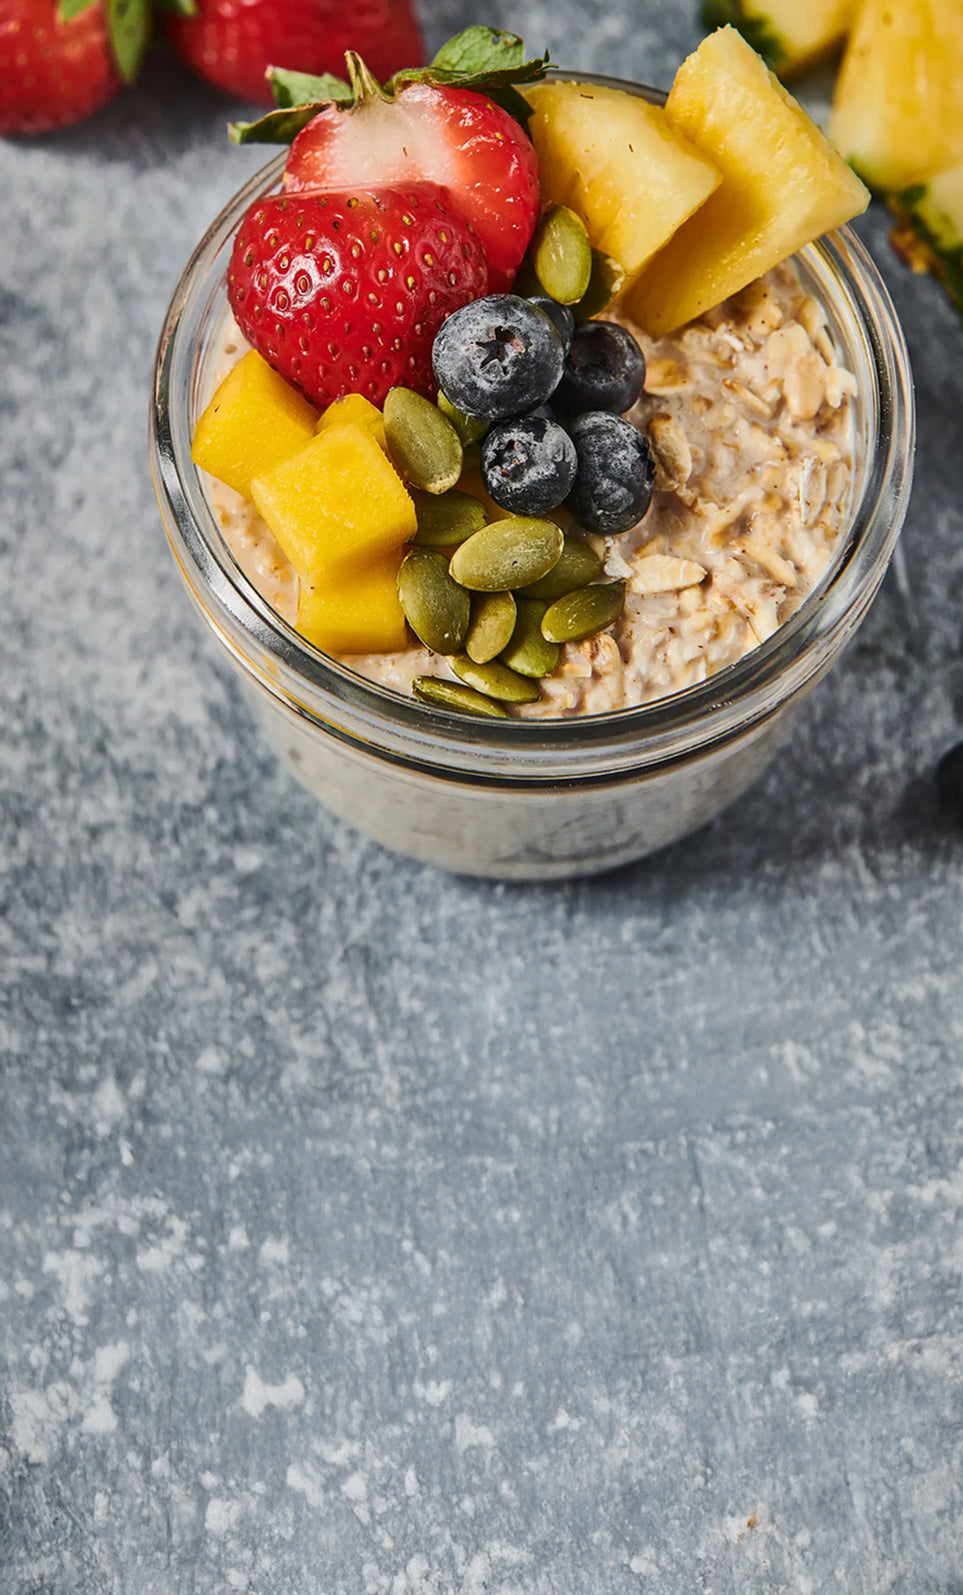
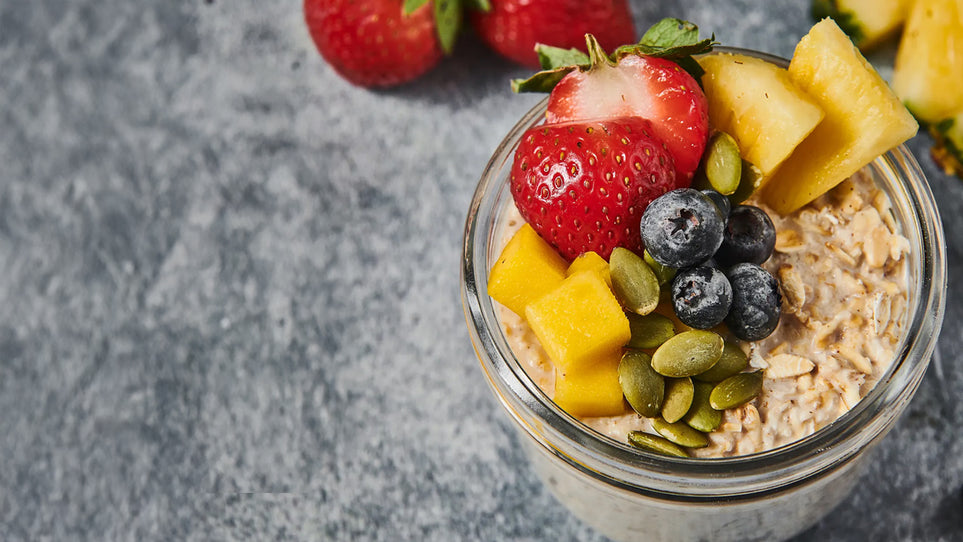
15 Easy Breakfast Meal Prep Ideas
Pressed for time in the mornings? From overnight oats to egg bakes. These quick and creative ideas make breakfast one less thing to worry about. Get the fuel you need without missing a beat.


You Might Also Like

How to Store and Freeze Fresh Produce

Game Day Recipes That Score Big: Appetizers, Wings, Dips & More

Homemade Spice Mixes: How to Use Seasoning Mixtures for Different Cuisine Types

BBQ Rubs and Seasonings: How to Use Bold and Smoky Flavors for Better Grilling

Peach Recipes: How to Use Up an Abundance of Peaches

About Pure Vanilla Extract: Uses, Pairings, and Recipes

About Chili Powder: Uses, Pairings, and Recipes
