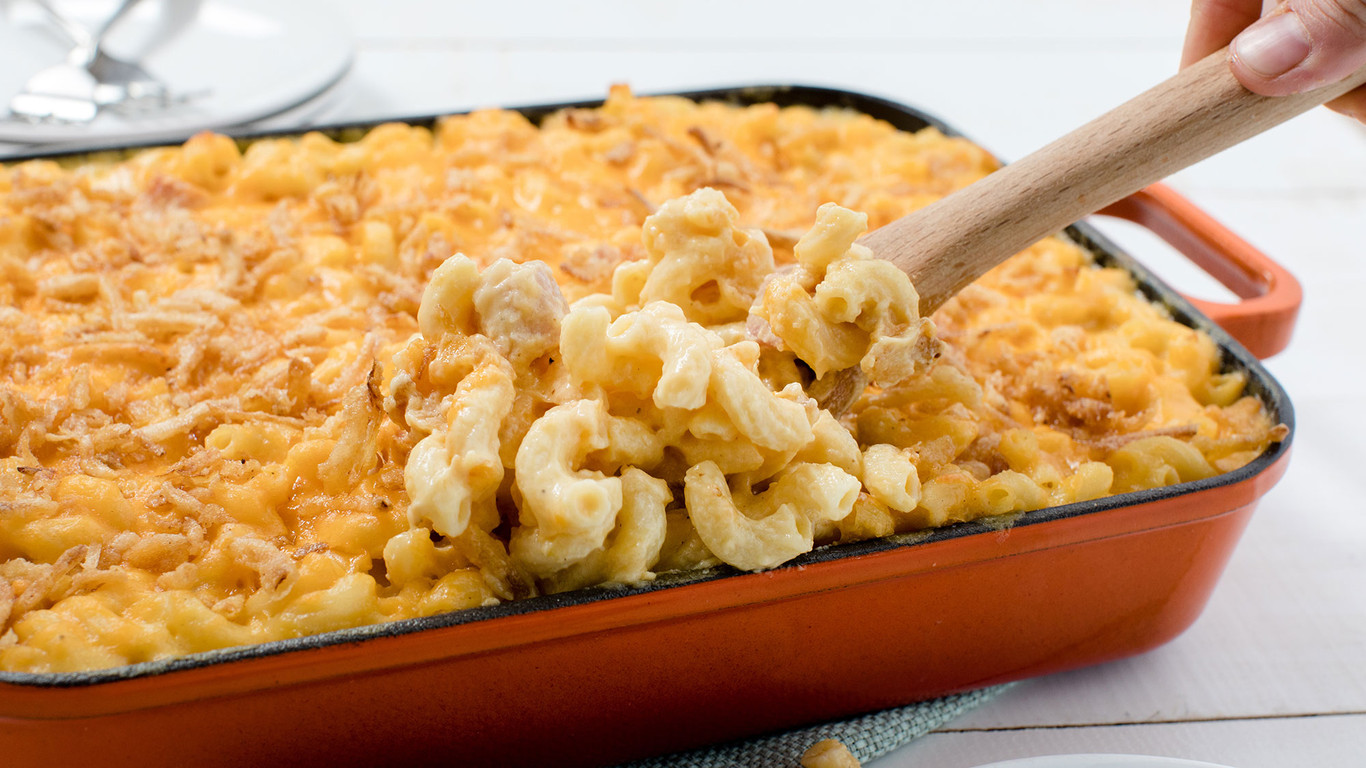
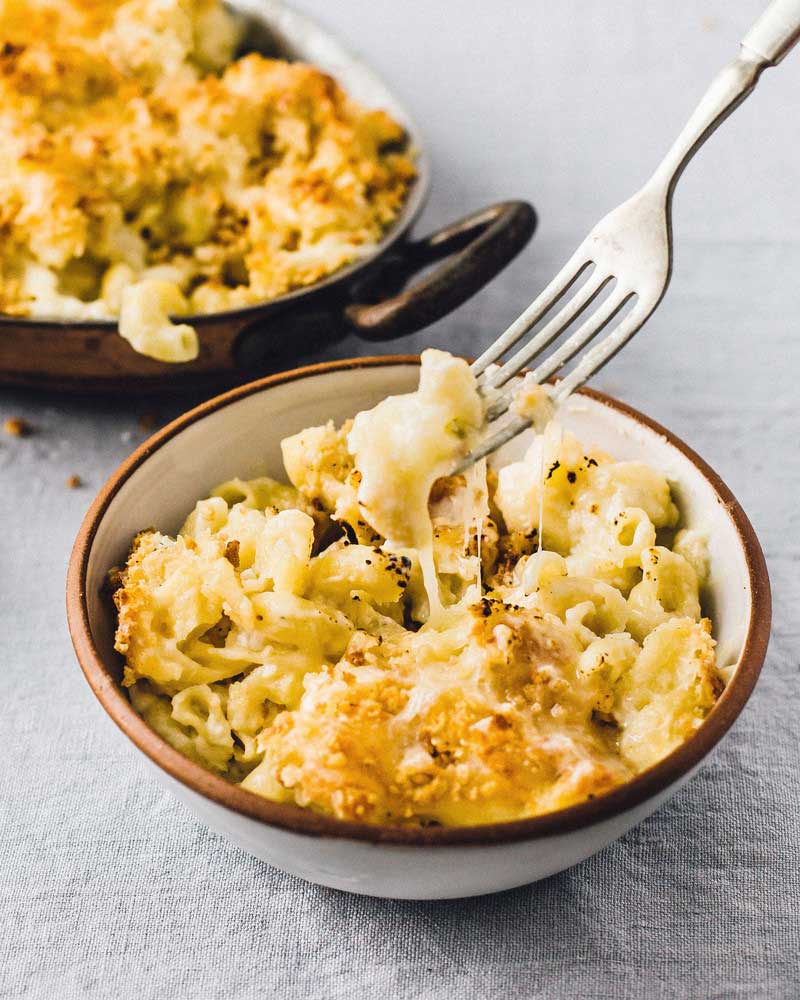
Too often, baked mac and cheese casseroles are reserved for weekend dinners or even holiday tables. This recipe is set up so that you can make it on even the busiest night of the week (which, let's be honest, is when we're really craving the comforting dish). You don't have to make homemade breadcrumbs, finely chop an onion or temper an egg. All you have to do is boil some noodles, grate some cheese and make a simple bechamel. What makes it so special is that each component is thoughtfully planned out.
4 smart secrets that make this mac and cheese so good
1. The cheese: The best mac and cheese recipes employ a mix of sharp, nutty and melty cheeses. For this reason, my sister Maddie likes sharp white cheddar for its flavor, shredded Parmesan for its salty, nutty kick, and fontina for its great melting abilities (read: cheese pulls galore).
2. The bechamel: Maddie's bechamel employs a smart technique that makes for a foolproof sauce every time. And that's warming the milk in a separate saucepan before adding it to the roux. Because the milk is already warm, it quickly and more seamlessly mixes with the roux to create an impossibly creamy and perfectly thick sauce every time.
3. The topping: A lot of mac and cheese recipes ask you to toast the breadcrumbs before piling them on top of the noodles. Not this one. Instead, you'll toss panko breadcrumbs with melted butter and a pinch of salt, then sprinkle them on as is (but not before adding more cheese on top of the noodles). As the casserole bakes, that extra cheese melts into the casserole, and the buttery breadcrumbs toast until beautifully golden-brown, adding delicious crunch to every bite.
4. The vessel: Maddie's Mac and Cheese bakes in a 2-quart baking dish (as opposed to the standard 3-quart, or 9-by-13-inch, casserole dish), meaning it will easily serve 4 to 6, but you won't be left with an obscene amount of leftovers. Because, let's be honest, mac and cheese is best when it's warm and bubbling and served straight from the oven.
Maddie's Mac and Cheese
Serves 4 to 6
4 tablespoons (1/2 stick) unsalted butter, divided, plus more for the baking dish 3 LEFT
1/2 cup panko breadcrumbs
8 ounces dried small pasta, such as cavatappi, elbows, or mini penne
2 3/4 cups whole milk
1/4 cup all-purpose flour
1 teaspoon kosher salt, plus more for the pasta water
Freshly ground black pepper
1 cup shredded sharp white cheddar cheese (4 ounces), divided
1 cup shredded fontina cheese (4 ounces), divided
1/2 cup plus 2 tablespoons finely grated Parmesan cheese, divided
1. Arrange a rack in the middle of the oven and heat to 375 F. Lightly grease an 8-by-8-inch (or other 2-quart) baking dish with butter. Melt 1 tablespoon of the butter in a medium microwave-safe bowl. Add the panko and a pinch of salt, and toss to combine; set aside.
2. Bring a large pot of water to a boil. Add the pasta and a generous amount of salt. Cook according to package directions until al dente. While the pasta is cooking, warm the milk in a medium saucepan over medium heat until warm to the touch but not boiling. Drain the pasta and set it aside.
3. Melt the remaining 3 tablespoons butter in the now-empty pasta pot over medium heat until bubbling. Add the flour and cook, stirring, until golden-brown and fragrant, about 2 minutes. Gradually whisk in the warmed milk about 1/2 cup at a time, whisking well after each addition. Once all the milk is added, bring the sauce to a simmer and cook, stirring continuously, until noticeably thickened, 2 to 3 minutes.
4. Remove the pot from the heat. Add 3/4 cup of the cheddar, 3/4 cup of the fontina, 1/2 cup of Parmesan, 1 teaspoon of the salt, and several grinds of black pepper. Stir until the cheeses are melted.
5. Add the cooked pasta and stir gently until evenly coated with sauce. Transfer to the prepared baking dish. Sprinkle with the remaining 1/4 cup cheddar, 1/4 cup fontina, and 2 tablespoons Parmesan. Evenly sprinkle the panko mixture over the top. Bake until bubbling and golden-brown, 30 to 40 minutes.
Recipe notes: This recipe can assembled and refrigerated up to two days ahead before baking. Leftovers can be stored in an airtight container in the refrigerator for up to five days.
This article is written by Grace Elkus from The Kitchn and was legally licensed via the Tribune Content Agency through the NewsCred publisher network. Please direct all licensing questions to legal@newscred.com.
