Dutch ovens are tools that can last a lifetime; good thing, too, because some of them can get pretty pricey. The only caveat? You have to care for them properly. You don't have to season or love them quite as much as a cast-iron skillet (that enameled coating really helps make your job easier!), but there are some things you should never do.
Here are five mistakes to avoid with your prized Dutch oven.
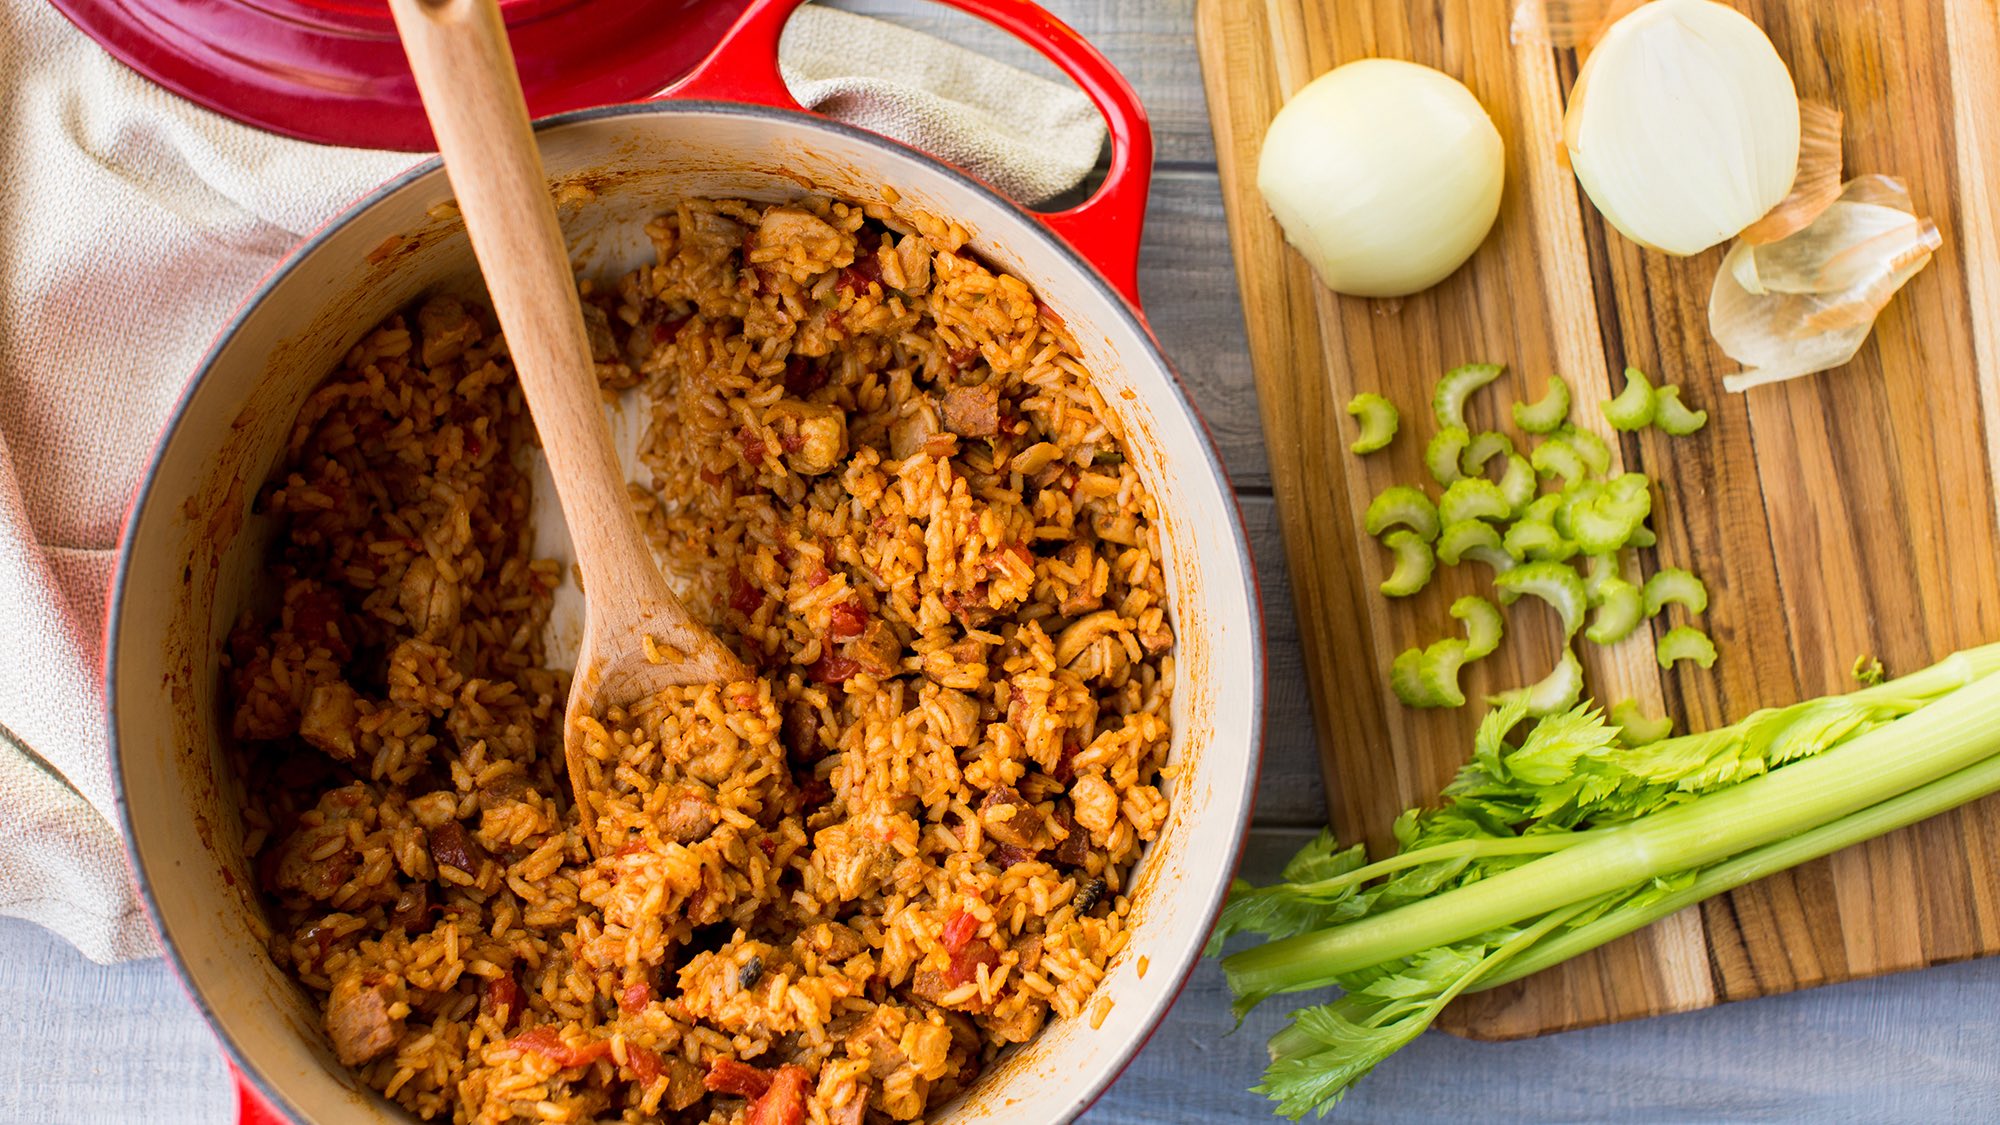
Photo: McCormick
1. Using it on very high heat.
I confess to making this mistake for years before I realized the truth. Because Dutch ovens do such a great job of retaining heat, using them on medium-high or high heat is actually too hot. The pot can scorch if it's this hot and food can burn and actually stick to the surface. Cooking at medium heat is more than sufficient for the pot.
Follow this tip: Always cook on medium or low heat, even when frying or searing. Use high heat only when boiling a full pot of water, or reducing a stock or sauce.
2. Preheating it empty or on high heat.
Just like above, preheating a Dutch oven on high heat is as bad as cooking with it on high heat. It can heat up too fast and the surface and food can burn. Also, you never want to preheat it while empty -- this can cause the enamel to crack -- so drizzle your olive oil in first and then switch the stovetop on.
Follow this tip: Pour oil or drop that pat of butter into the pot before you start heating it -- and make sure that heat is no higher than medium. Also, never place an empty pot in a hot oven. If you're baking no-knead bread, we've found that it's OK to put an empty pot in a cold oven and preheat both together, slowly, but know there still could be a risk of the enamel cracking. If you're concerned, the safest bet is to use a non-enameled Dutch oven when baking bread.
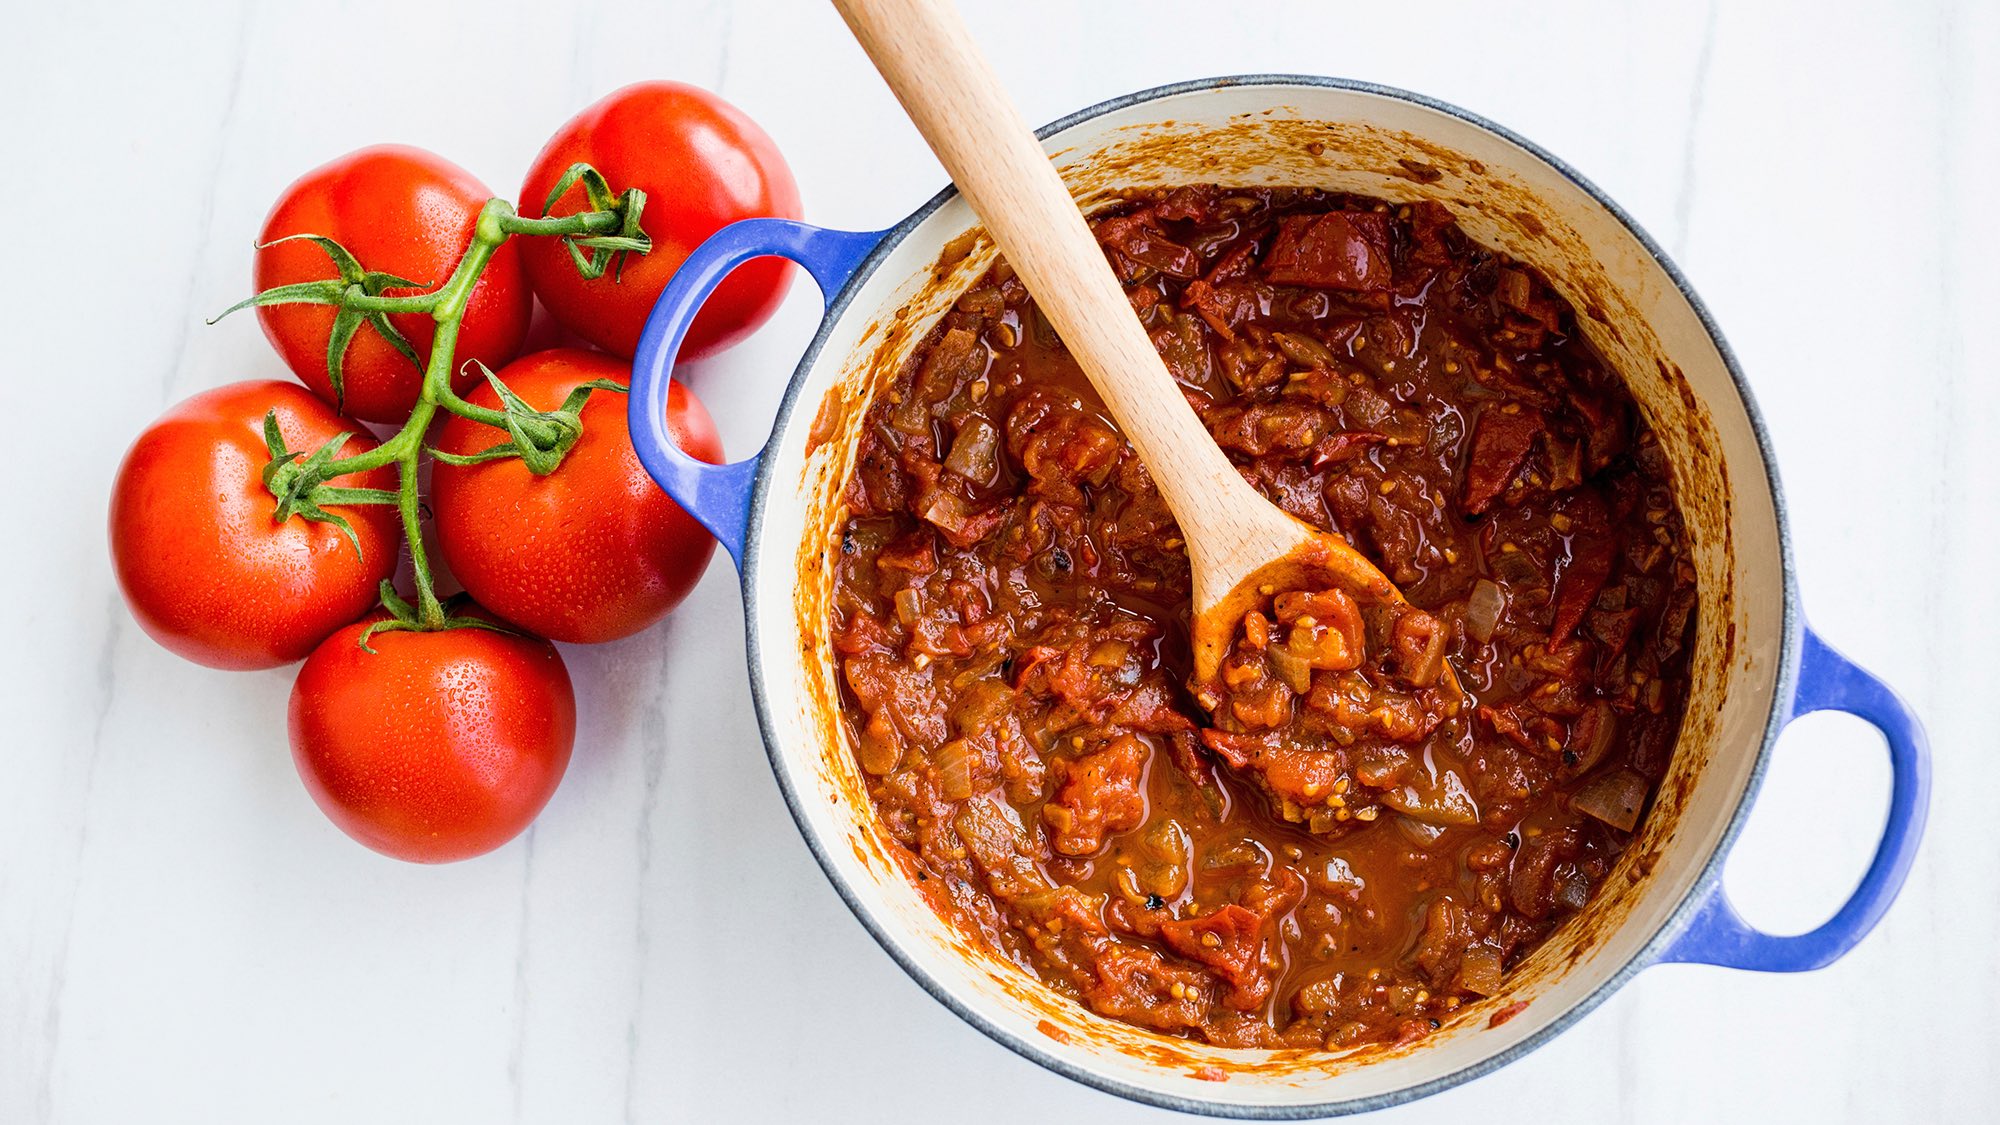
Photo: McCormick
3. Not using enough oil or butter to coat the bottom of the pan.
While the enameled coating on a Dutch oven may look glossy and nonstick, it's actually not. Like all other nonstick pots and pans, it needs a sufficient amount of hot fat on its surface to ensure food won't stick to it. You'll want to drizzle enough oil or melt enough butter to completely coat the surface before sautéing those onions.
Follow this tip: Don't skimp on the amount of oil or butter you're cooking with. Follow the recipe and make sure the fat completely covers the bottom of the pot before you start cooking.
4. Using metal utensils when cooking.
Again, I am a culprit here: I've definitely scraped the bottom of my Dutch oven with a serving spoon before and completely regretted it when I saw the scratch it left behind. Play it safe and use utensils that won't run any risk of scratching that precious enamel coating, like silicone, wood, or heat-resistant plastic.
Follow this tip: Opt for using silicone, wooden, or heat-resistant plastic utensils with your Dutch oven. If you have to use a metal spoon or whisk, be careful not to scrape it on the enameled bottom or sides.
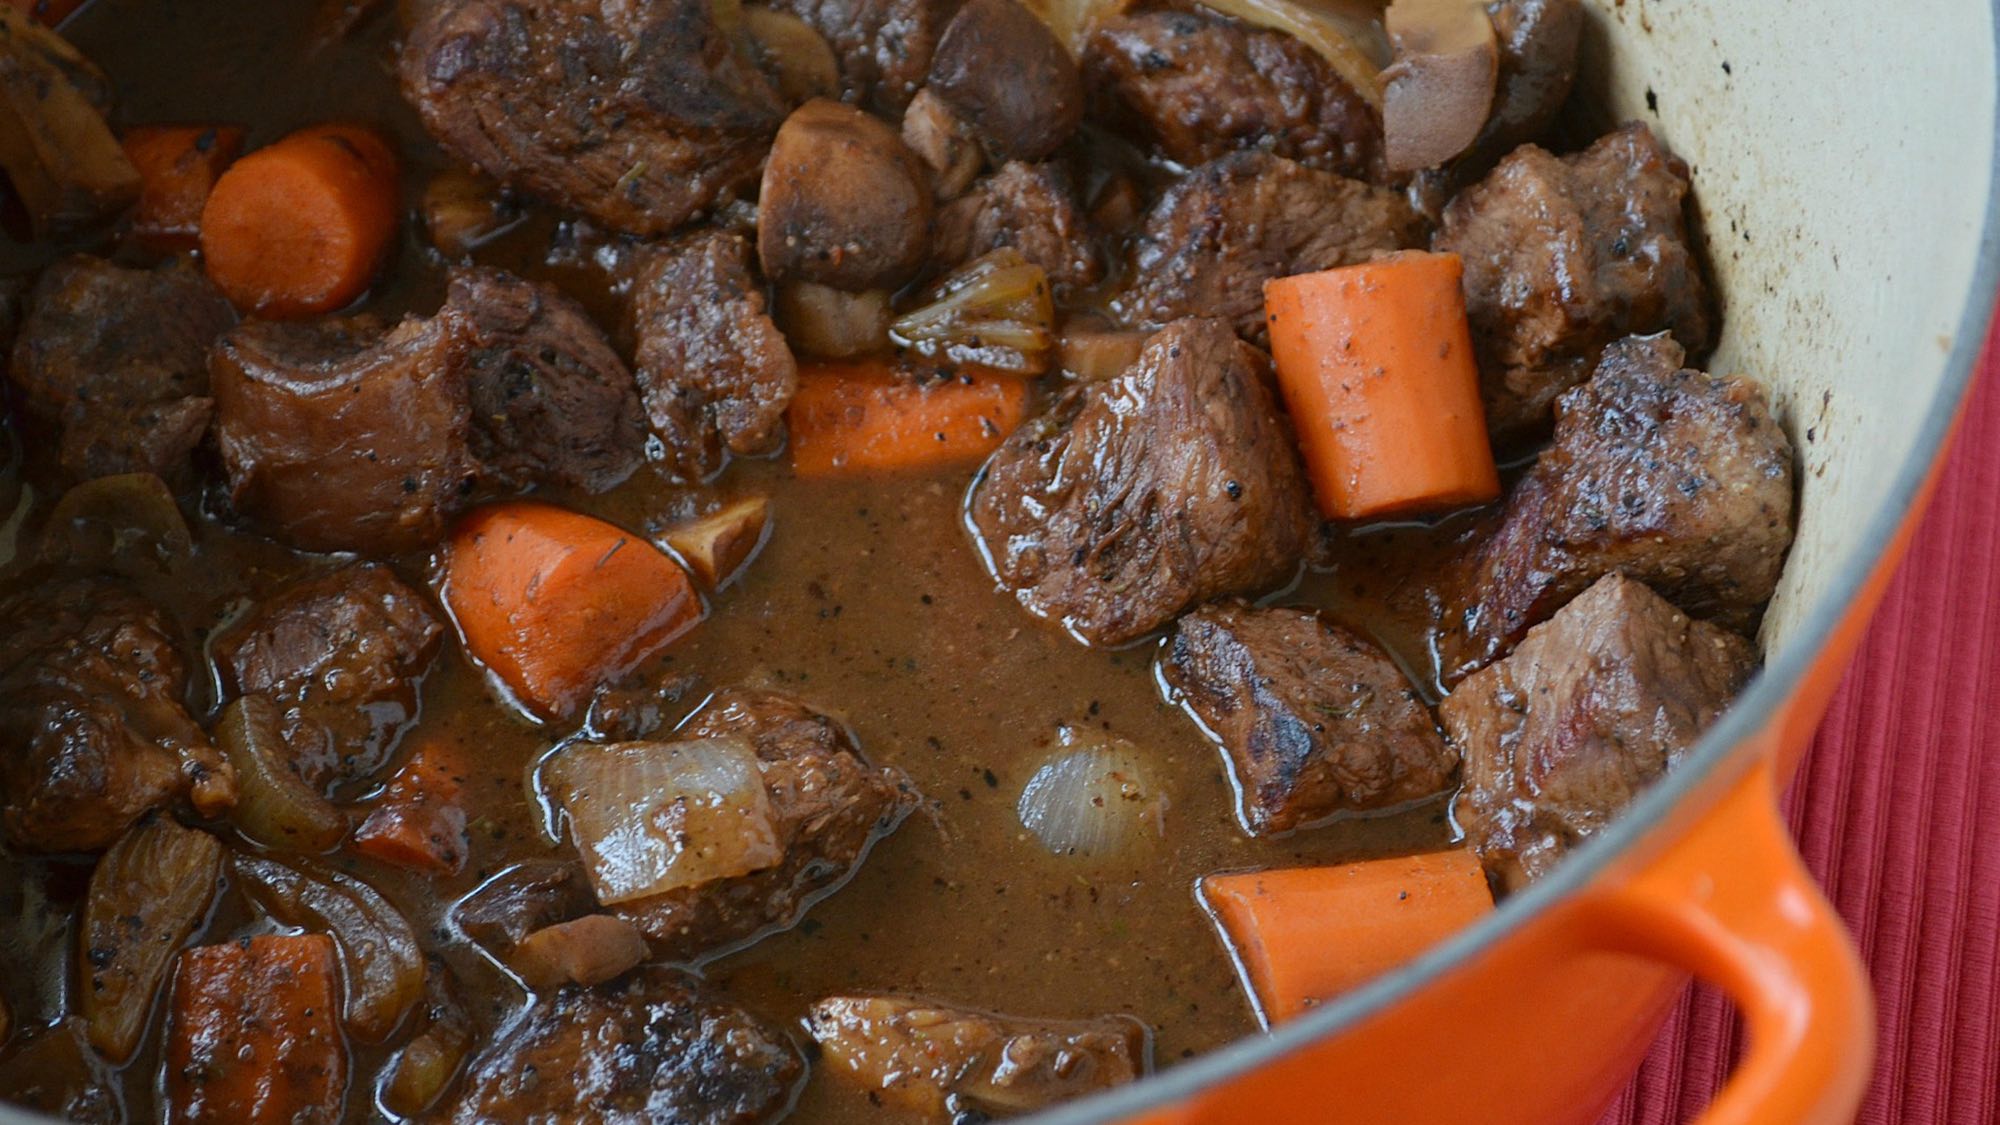
Photo: McCormick
5. Not drying it completely.
While Dutch ovens can technically go in the dishwasher, doing so can dull the enamel coating, so your best bet is to hand-wash your pot. When you do so, make sure you dry it completely, as any excess moisture that lingers could cause rust to form.
Follow this tip: Hand-wash your Dutch oven, and dry the base and the lid completely before putting it away.
(Sheela Prakash is assistant food editor for TheKitchn.com, a nationally known blog for people who love food and home cooking. Submit any comments or questions to editorial@thekitchn.com.)
This article is written by Sheela Prakash from The Kitchn and was legally licensed via the Tribune Content Agency through the NewsCred publisher network. Please direct all licensing questions to legal@newscred.com.