Melting chocolate in a microwave can be quick, simple, and clean—if you know what you are doing. All you need is a microwave-safe bowl—no water baths or double boilers—and there is no water to accidentally splash into the chocolate. (To be perfectly honest, I love using a water bath and have never had a splashing accident—but I know that people worry about that happening!)
Follow these basic rules, for melting chocolate in general:
- Use small pieces, on low to medium heat, with a lot of stirring. Chocolate melts smoothest and fastest if it’s done slowly (yes, slowly). Small pieces mean more surface area, which means that the chocolate will melt very quickly with very little heat. Milk and white chocolate burn easily, so I chop them into matchsticks or shards no thicker than 1/4-inch; dark chocolate can be chopped more coarsely. The goal of melting chocolate is to produce warm rather than hot chocolate. Low and medium heat—30% or 50% power in a microwave, instead of 100% power—prevents the chocolate from it from becoming too hot before all of the pieces are even melted. Frequent and thorough stopping-and-stirring helps melt the chocolate and keep it from becoming overheated as well.
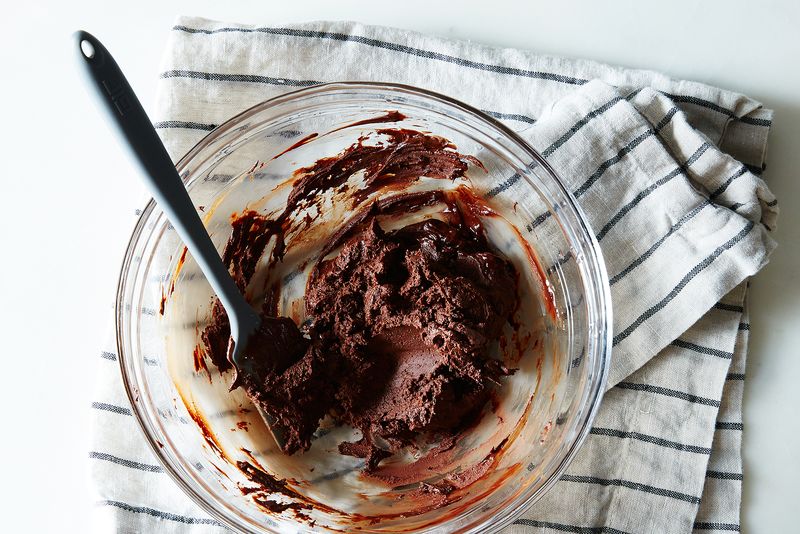
- Keep chocolate dry. Unless chocolate is melted with other ingredients (fat, cream, or a quantity of liquid), keep it perfectly dry. Using dry hands, chop it with a dry knife on a dry board before putting it into a dry (microwave-safe) bowl, stirring with a dry spatula. (Small quantities of liquid or moisture on utensils, or inadvertently splashed, can cause chocolate to become thick and sludgy and dull, rather than fluid and beautifully shiny as it melts.When this happens, we say that the chocolate “seized.” Seized chocolate is completely useless for dipping or coating. The only thing you can do is save it for a recipe that calls for chocolate melted with butter or cream or another liquid.
- Melt uncovered, and zap conservatively. My microwave is 800 watts. I use 50% power for dark chocolate and 30% power for milk and white chocolate.
The amount of time it takes to melt chocolate in a microwave depends on the type and amount of chocolate, the size of the pieces, the size of the bowl (!), and the power of the microwave. Never attempt to melt all of the chocolate in one go—I promise it will end up too hot or even burned. Start with a conservative amount of time, aiming to melt some of the chocolate. Stir thoroughly after the first zap, even if the chocolate barely looks melted at all. (Looks can be deceiving, as chocolate holds its shape even when melted.) Stirring lets you know for sure how much of the chocolate is melted, and it helps melt the remaining pieces as you stir them into the warm chocolate and against the even warmer bowl. Based on how much of the chocolate actually melted after the first zap, add 5 or 10 or 15-second increments, stirring thoroughly each time. The idea is to melt the last pieces by stirring, so don’t keep zapping until there are no pieces left.
Dark, Milk, White
The following is based on my experience melting chocolate in an 800-watt microwave. Larger pieces (like wafers, disks, and pistols) will take more time, and higher-powered microwaves will take less time. Note that if chocolate is melted with butter or cream, it will also take less time. Finally, note that chocolate chips are not meant to be melted. They are formulated to hold their shape under heat; this means that when they are melted they form a very thick, rather dull and sludgy substance rather than shiny, fluid melted chocolate.
For dark chocolate (at 50% power):
I chopped these so that the largest pieces were about 1/4-inch thick and half-inch square.
1 ounce: Start with 1 minute and 30 seconds, then stir well. Add 5 to 15-second intervals as necessary, stirring well after each.
2 ounces: Start with 1 minute and 45 seconds, stir well, and add 5 to 15 seconds as necessary, stirring well after each.
4 ounces: Start with 2 minutes and 15 seconds, stir well, add 5 to 15-second intervals as necessary, stirring well after each.
6 ounces: Start with 2 minutes and 30 seconds, stir well, and add 5 to 15-second intervals as necessary, stirring my well after each.
For white and milk chocolate, lower the power to 30%, and chop the pieces smaller; use the same timings as above.
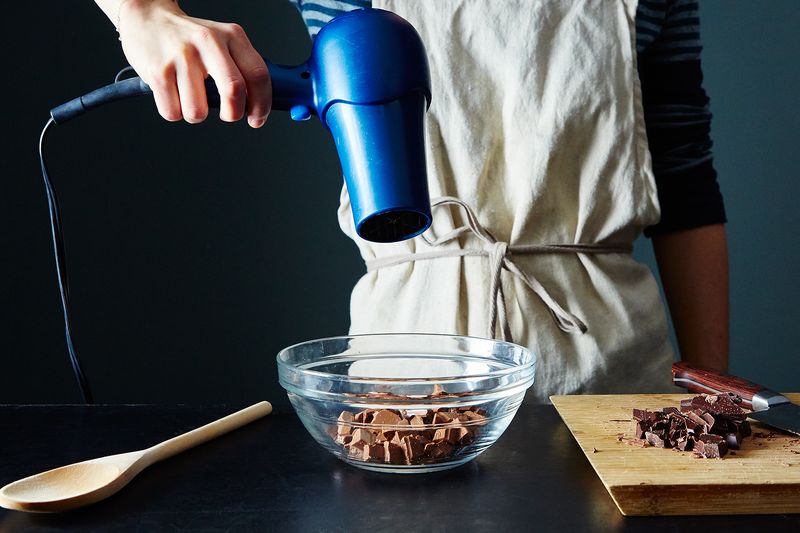
And, if you're looking to skip the microwave altogether:
This article was written by Alice Medrich from Food52 and was legally licensed through the NewsCred publisher network. Please direct all licensing questions to legal@newscred.com.