Everyone loves to braise, and the mythology indicates that it’s easy, but it’s not—it’s simple (and there is a difference). But for everyone who thinks that braising is forgiving, I would remind you of the last dried-out pot roast you’ve eaten. Here are some handy tips for braising.
Brown well. That’s what the recipe says, and the Maillard reaction that takes place when you brown is crucial to textural and flavor success when braising. Don’t “beige” your food. Brown it. Beijing is a city in China. Brown is the color of flavor. Use enough heat and get a nice crust on those short ribs or beef chuck. The chemical reaction between amino acids and reducing sugars give browned foods their best flavor. As the heat and caramelization increases, the depth and complexity grow as hundreds of chemical reactions take place, building blocks of flavor. Literally.
Simmer properly. That means after browning, adding your aromatics and vegetables and deglazing with your liquid seasonings according to the recipe, you should simmer for a while, 5-10 minutes, to establish some thermal momentum in your braise, both in the liquid and the protein. Then—whether you use a lid and cook on the stovetop, cover and slide in the oven or open-top braise without a lid—you will continue cooking without the stop and start of insufficient heat in your pot.
Test and taste. A five-pound boneless rolled-and-tied breast of veal, like any other piece of meat fit for braising, can come in many shapes and sizes. So recipe times aren’t uniformly applicable. A long and thin tied roast will cook more quickly than its stouter, football-shaped cousin. So you need to test, taste, take the temperature of the meat internally and build some experience with these cuts. When an inserted fork turns in a brisket or a shoulder roast, for example, it’s probably done. Some cuts you don’t want to mar—duck confit, for example—where a simple free spin of the leg bone will indicate a finished product. When proteins like pork, beef or lamb reach an internal temperature of 170°-175°, they are usually very nicely done. Most collagen will be breaking down between 165° (dark meat chicken) and 180° (beef tendons and so on). As far as cooking temperatures, I usually start at 250° and raise to 275° or 300° after a few hours on many braises. Higher temps can lead to the meat drying out.
Let it sit. I rest my proteins in their liquid when I am done with the heat braise. And the thermal momentum lasts longer in hot liquid! So remember that this can be considered cooking time as well. I also will store my meat in their cooled cooking liquids, reduced or not. This also prevents drying out and keeps the flavor profiles of the meat high as well. Think osmosis from fourth-grade biology. The flavors of the liquid will go into the meat and vice versa, even when cooling.
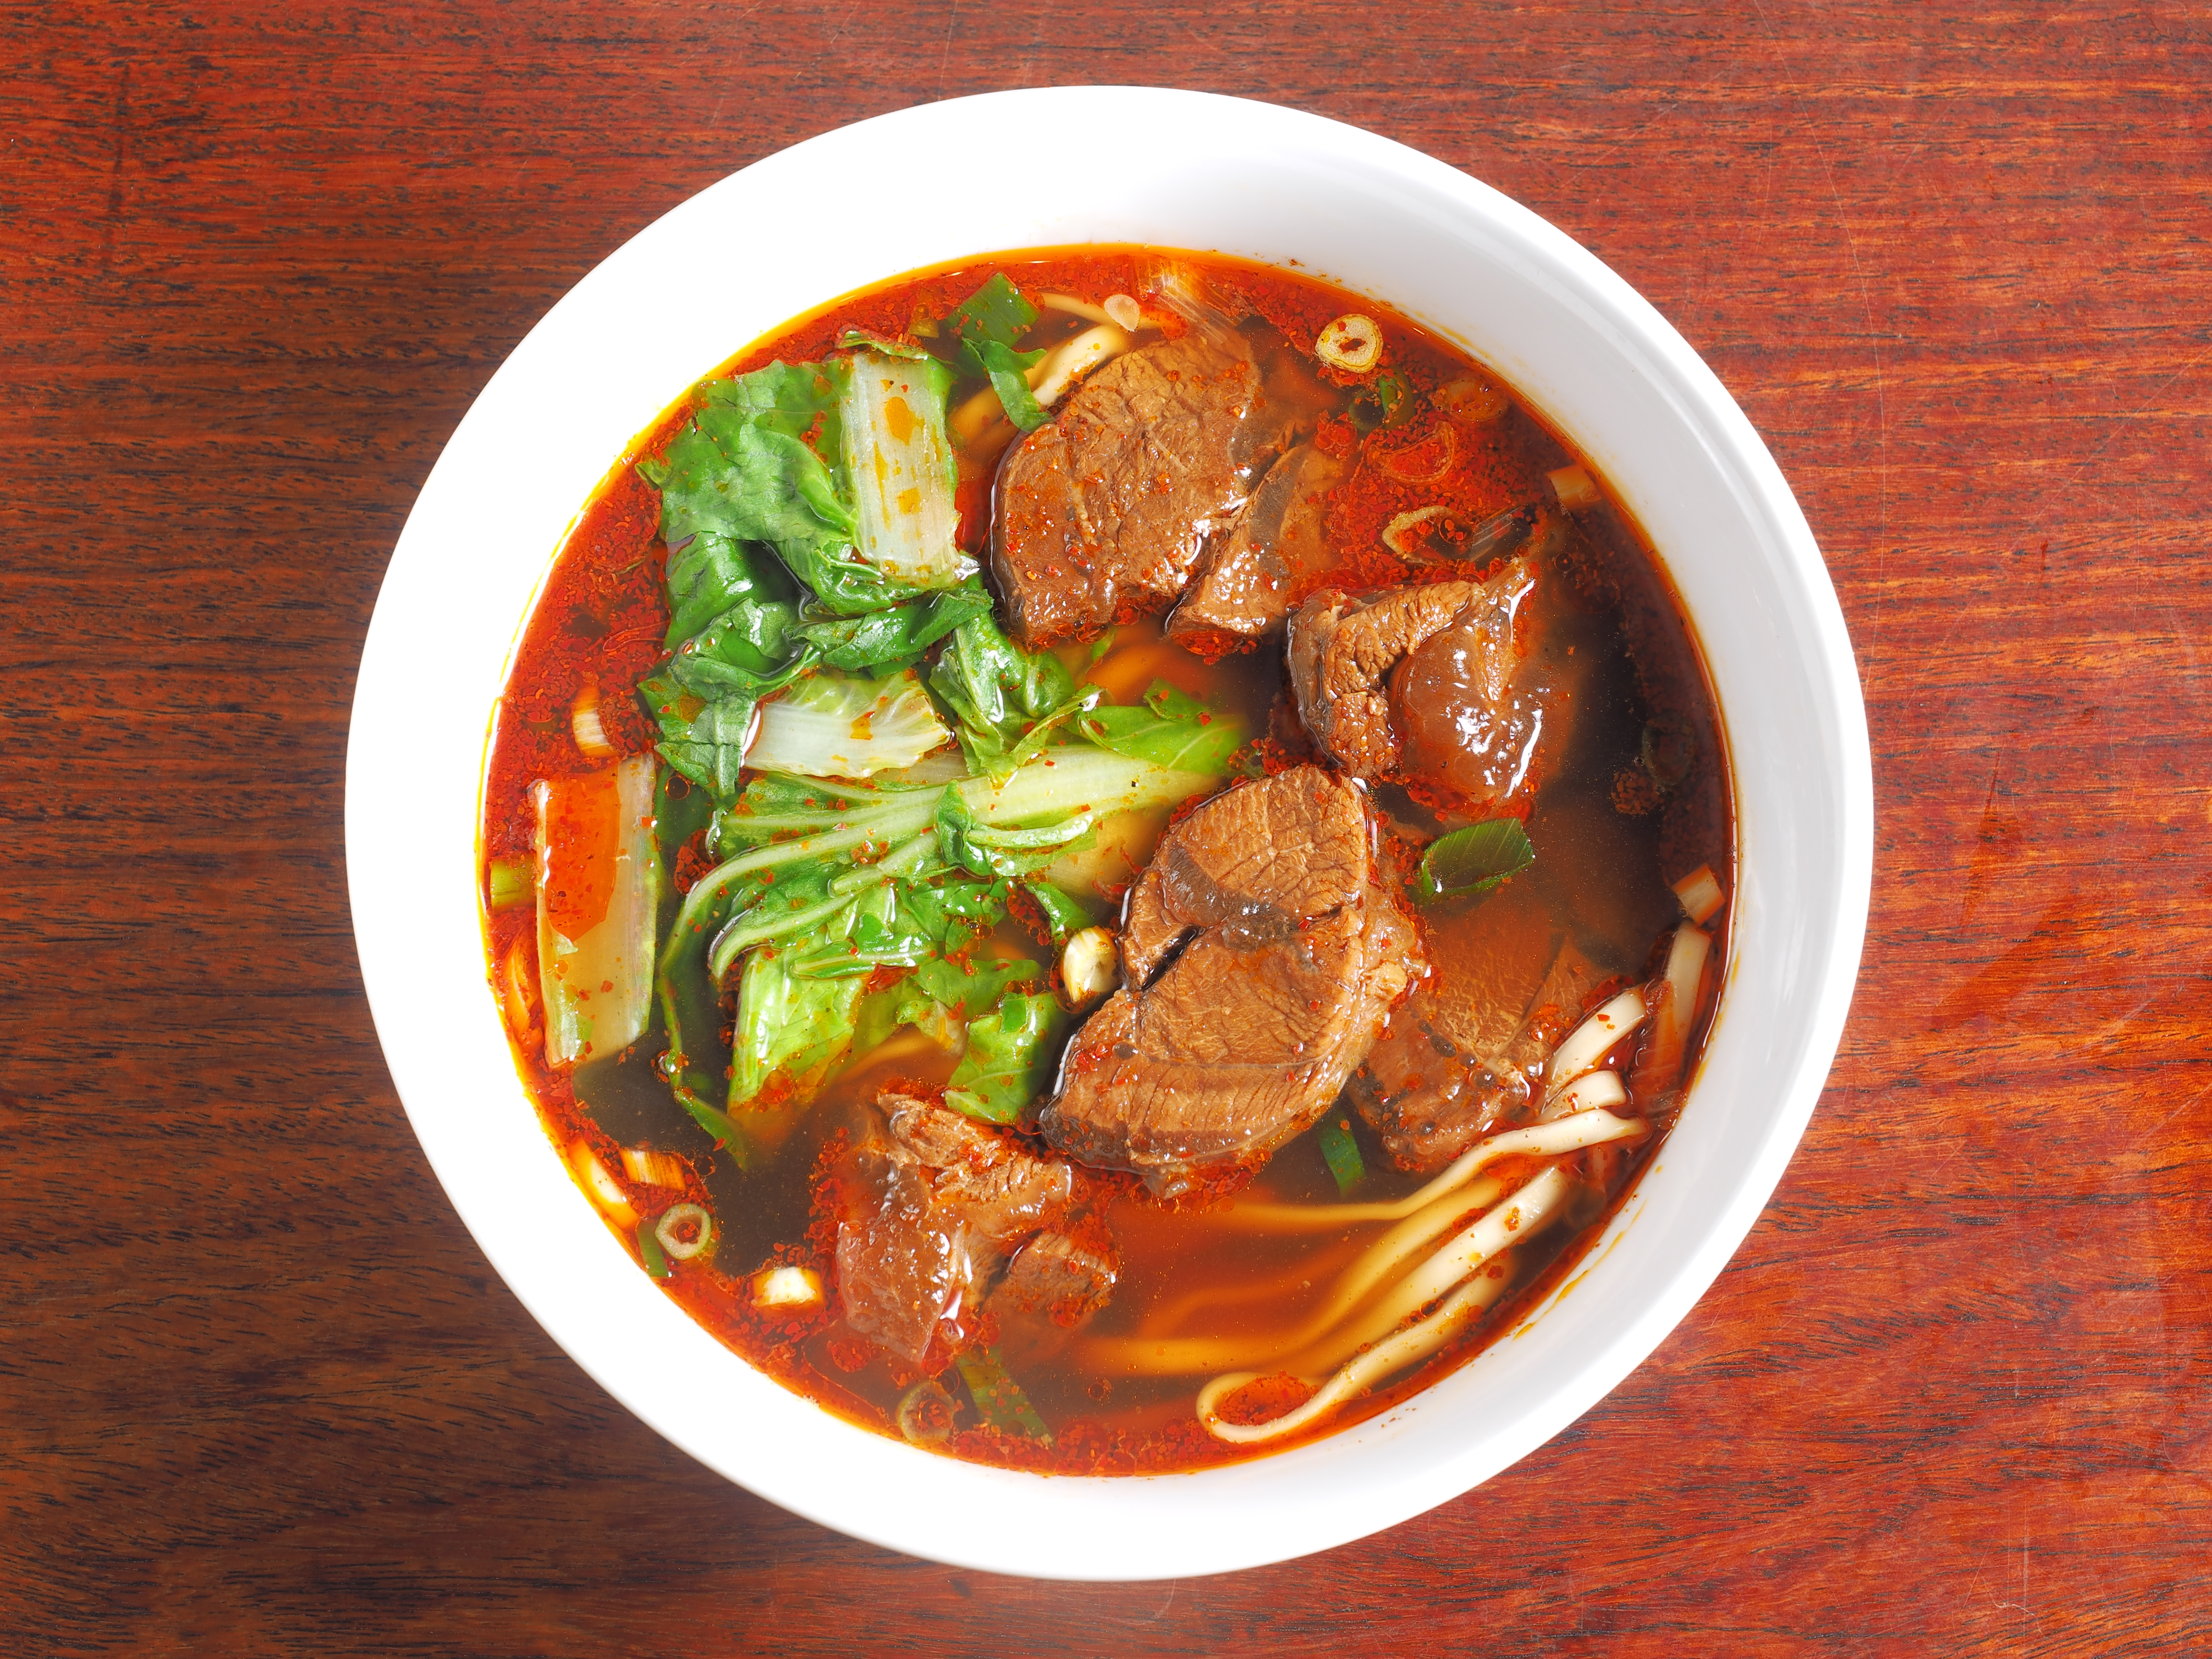
Get Andrew Zimmern's Braised Pork Shank with Miso Recipe
This article was written by Andrew Zimmern from Food & Wine and was legally licensed through the NewsCred publisher network. Please direct all licensing questions to legal@newscred.com.