You've heard the saying, "We eat with our eyes." And when someone sets a Bundt cake down on the table, it's sure to be met with plenty of oohs and aahs. And the good news about Bundt cakes is that while they look impressive, they are often quite easy to make. But what’s up with that shape? Which Bundt pan size is the best? And just how do we prevent those gorgeous cakes from sticking to the pan??
Bundt Cake History
First, a little history. It might be surprising to hear that the Bundt pan is an American creation. It was developed to make bundkuchen, a cake that hails from the Austrian/Swiss/German region of Europe, according to Jennifer Dalquist, executive vice president of sales and marketing for Nordic Ware and a member of the third-generation of the Nordic Ware family. Traditionally, bundkuchens were made in gugelhupf pans. These pans were crafted from ceramic or cast iron and had a tube in the center that helped bake the dense, coffeecake-style cakes.
But what about the Bundt pan as we know it now? We can actually thank Jennifer's grandparents, Dave and Dotty Dalquist, for the invention. They founded Nordic Ware in Minneapolis, Minnesota, in the late 1940s. Shortly thereafter, they were approached by a group of local women from the Hadassah society (a Jewish women's organization), who asked the couple if they could create a modernized version of their beloved gugelhupf pans, which were traditionally either heavy (cast iron) or fragile (ceramic). Because American pans didn't permit the cakes to bake properly either, Dave offered to help, creating a pan made of heavy cast aluminum with "the signature fluted design that we all now know as a Bundt shape, and trademarked the name Bundt, which loosely meant 'a cake for a gathering of people,'" says Dalquist.
It's hard to believe, but the pan wasn't hugely popular at the time, and wasn't for a while. It wasn't until 1966, when a woman entered the Pillsbury Bake-Off Contest and placed second for her "Tunnel of Fudge" cake, that things changed. She credited the cake's success to the use of the Bundt pan, instantly making it the pan that everyone wanted.
Pans That Work
Choosing a good Bundt pan is an important first step to creating a delicious, beautiful Bundt cake. And good news, most pans fall below the $40 mark, making them a relatively inexpensive kitchen investment.
Now that you've rationalized your purchase, it's time to begin your search. The right pan for you comes down to what you're asking it to do as well as a little bit of personal preference.
First, let's talk size. Bundt pans come in a range of sizes, anywhere from 6 to 12 cups. You can even find mini versions. A typical Bundt cake recipe calls for a 10-cup pan (more on that in a minute), so if you're looking for a good place to start, go with that size. If you want to feed more people, go for the bigger, 12-cup size.
On to material. What your pan is made of matters. Lisa McManus, executive testings and tastings editor at America's Test Kitchen, recommends finding a pan that has a lighter-colored interior, as it gives "a nice browning without getting too dark." Susan Reid, senior recipe tester at King Arthur Baking, agrees that a lighter-colored metal, such as cast aluminum, is a great choice. Interior color matters because, as Reid explains, most Bundt recipes are relatively high in sugar and “high-sugar recipes in dark pans tend to have much darker outsides much sooner and they can also be harder to get out of the pan if you don't hit the ideal time spot."
Reid notes that cast iron works well, but can be cumbersome due to its weight. Also, since cast iron retains and transfers heat well, you’ll have to take carry-over cooking into consideration. That’s the cooking that happens once the pan leaves the oven. This means you’ll have to adjust baking time or risk an over-baked cake. On the flip side, she recommends avoiding pans that are thin and lightweight. You know the ones, she says: “They barely weigh more than aluminum foil.” They’re unpredictable and can result in a cake that sticks to the pan, is overly cooked on the outside and underbaked on the inside.
McManus also loves a pan with handles. When testing pans, she points out, the handles "helped us maneuver the pan in and out of the oven without damaging the cake, and also came in handy when we inverted the pan to release the cake."
When it comes to shape and pattern of the pan, that's strictly a matter of preference. Just know that the more nooks and crannies you have, the more time you'll have to spend on prepping it for baking.
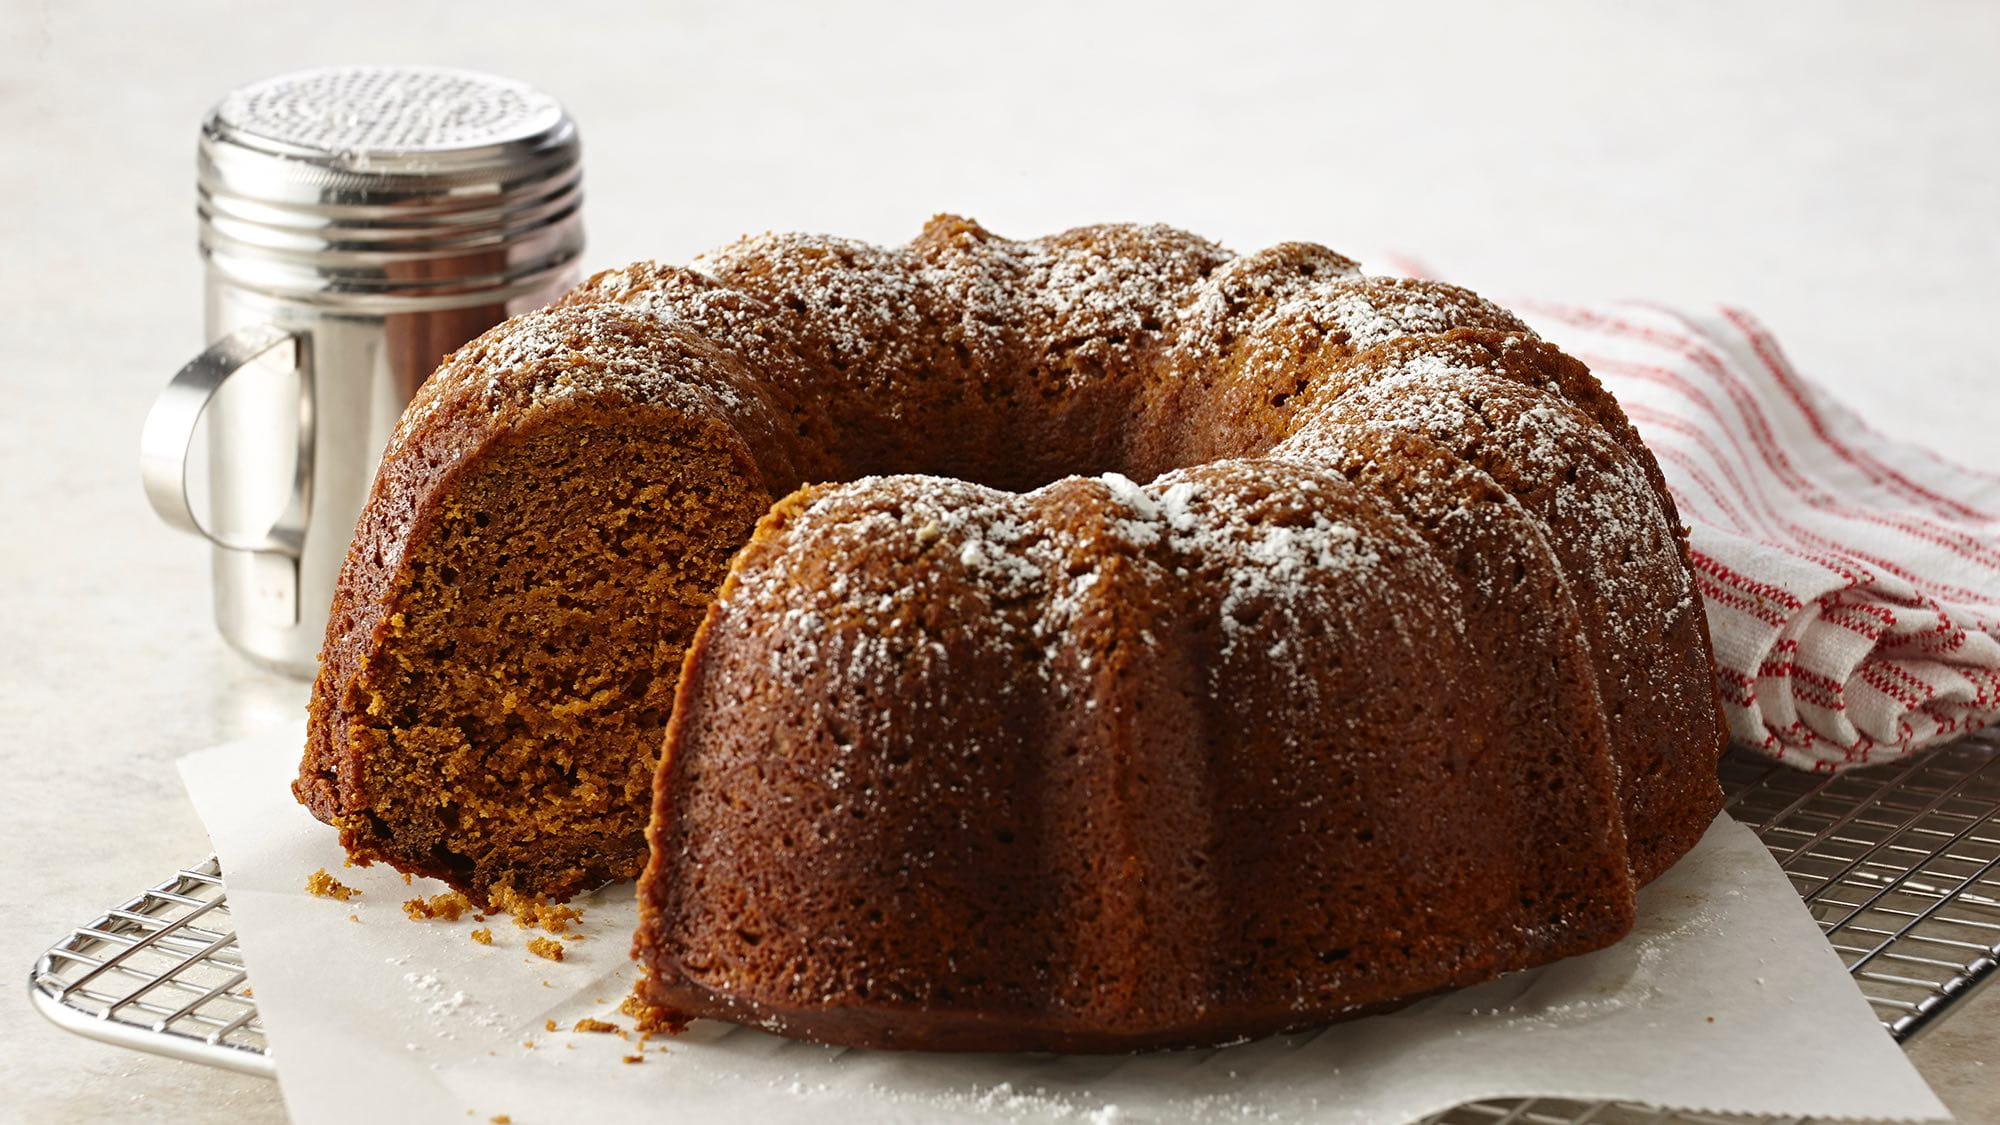
Photo: McCormick
Prep Your Pan for Success
Bundt pans work best when you prep them properly. There's nothing worse than putting the work into making the cake only to have it stick to the pan when you try to remove it, or to find out you haven't cooked it all the way through. Fortunately, the folks at America's Test Kitchen have some helpful tips. McManus recommends starting with a good greasing and flouring of the pans. And don't forget those edges! Every inside surface should receive attention! She says skip the regular cooking sprays and instead opt for those that contain oil and flour. Or, says McManus, you can DIY it by making a paste of 1 tablespoon melted butter and 1 tablespoon flour and using a pastry brush to coat the inside of the pan with it. Dalquist also recommends that you try dusting the pan with cocoa powder instead of flour if you're making a chocolate or darker-colored Bundt cake. And don't forget the cone in the middle, she says! You'll want to grease and flour that part too!
Cake Conversion
How do you turn a standard cake recipe into a Bundt cake? It's pretty easy. First, it's important to know that Bundt pans are designated by the number of cups of liquid the pan would hold, not the amount of batter you should use for your cake. Most standard cake recipes will yield 6 cups of batter, which is the perfect amount of batter for that 10-cup Bundt pan. Those 6 cups should fill the pan about 2/3 to 3/4 full, which leaves sufficient room for rising and preventing overflow. Reid explains that 6 cups of batter will also yield 24 smallish cupcakes, two 9-inch cake layers, three 8-inch cake layers or a 9-by-5-inch loaf. "So if your recipe makes any of those, it will work size-wise for your Bundt." You'll also need to increase the baking time a bit, usually a 20 to 30% increase should suffice.
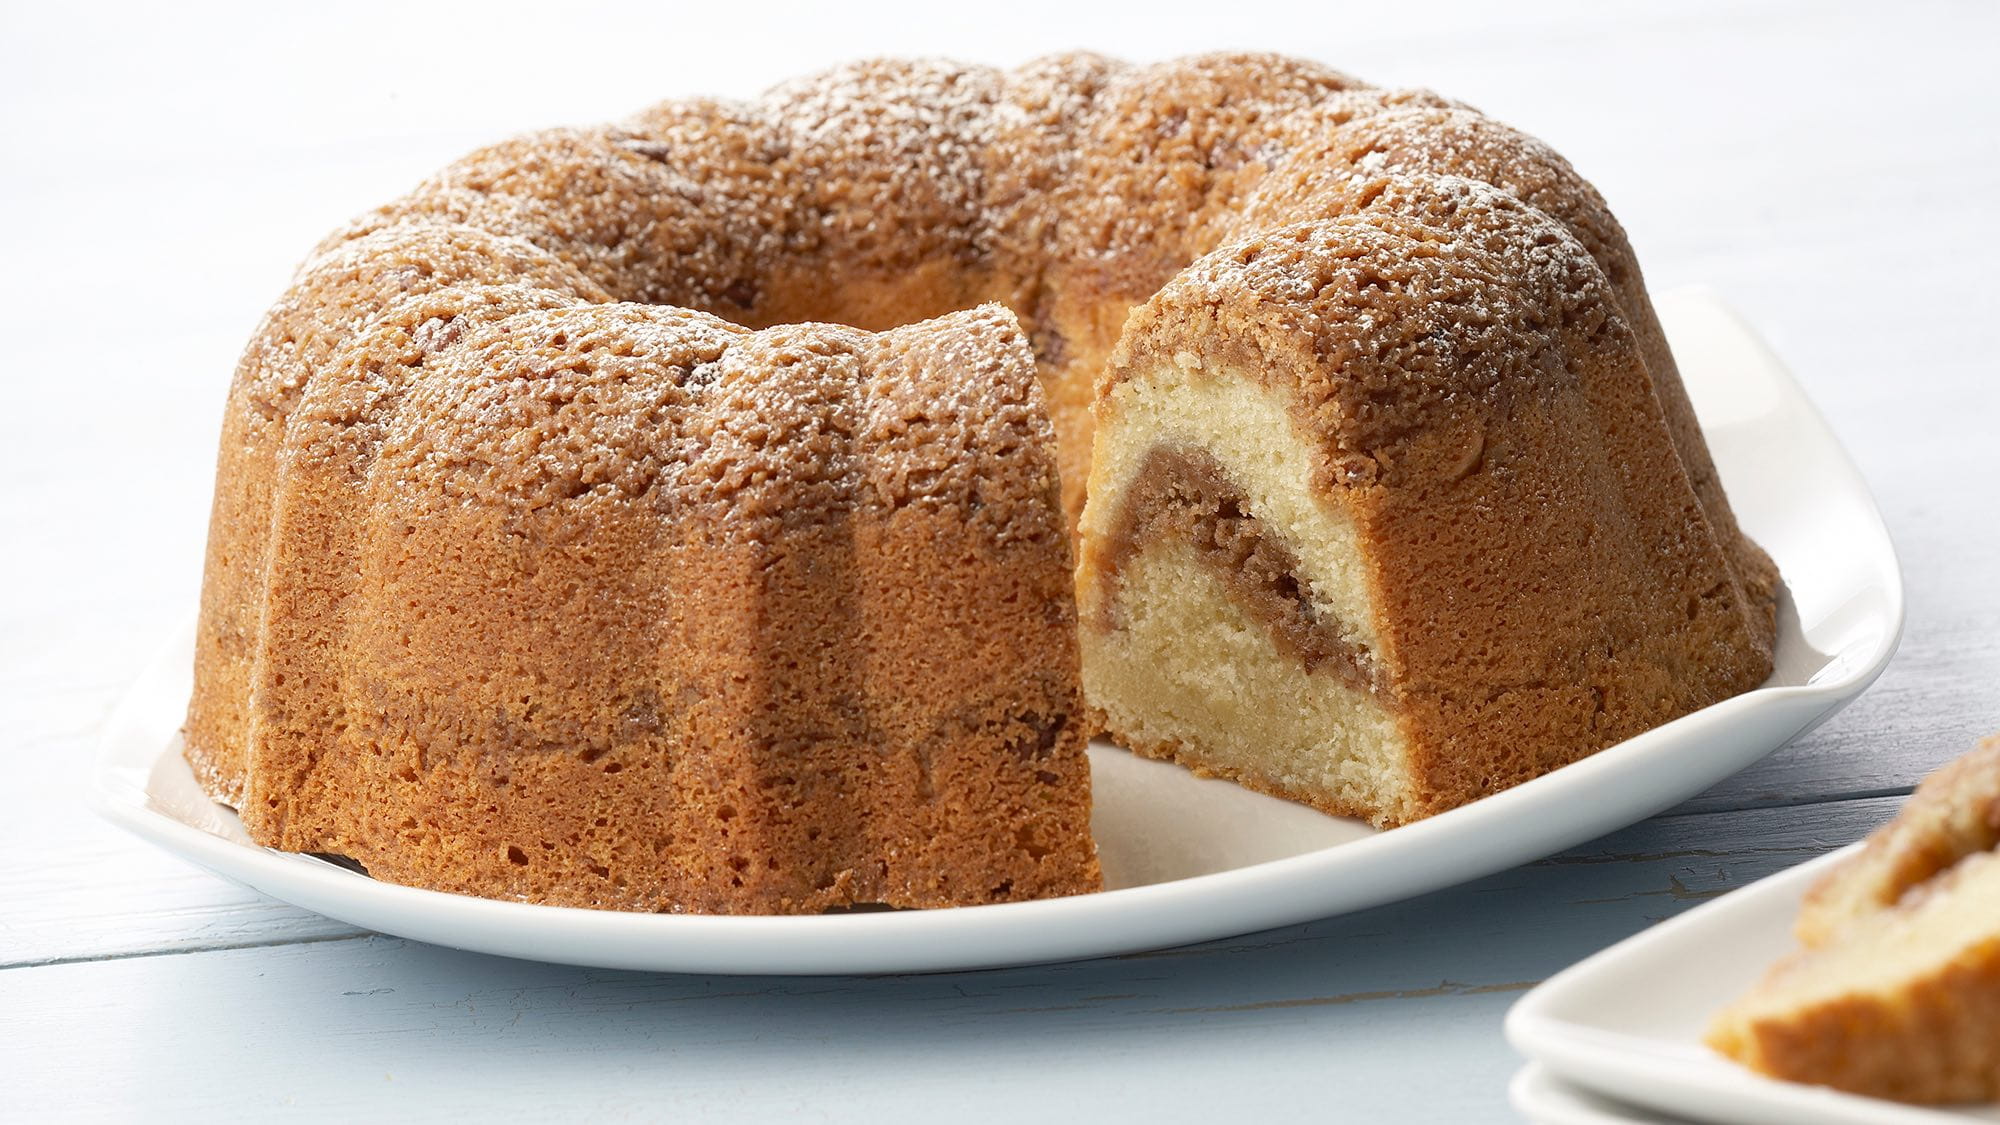
Photo: McCormick
Will All Cakes Work for Converting?
Reid says no. Because of the structure of the pan, you'll want to stick with cakes that entail the "creaming" or "paste" method. These tend to hold their shape, which will in turn help reveal the pattern of the pan and make for an easier release from the pan. Avoid foam, chiffon and any kind of genoise. She also recommends avoiding anything with big pieces of fruit, nuts or other large additions, which "can come out looking kind of haggard and pitted."
Add Some Flair
These pans automatically create beautiful cakes, but if you're looking to add some additional flair, Dalquist recommends a dusting of powdered sugar or cocoa on the cooled cake. A simple glaze or ganache is also a delicious addition. And if you're up for it, Dalquist says, consider using mini Bundt pans.The mini pans can be a fun and customizable way to get everyone involved. Kids and adults will love choosing their own toppings or mixing and matching fillings! Another idea, says McManus, is to put a filling in the cake that you'll see when it's sliced. Prepare your cake recipe, but only pour in half the batter, add your filling, then add the remaining batter to the top and bake! Try it in our Cranberry Bundt Cake and Apple-Cinnamon Cake pictured above.
This article was written by Sara Haas and Rdn from EatingWell and was legally licensed through the Industry Dive publisher network. Please direct all licensing questions to legal@industrydive.com.