The concept of food-cum-serving vessel is, in my humble opinion, generally not a good idea.
- Exhibit A: The bread bowl. Soggy, inconquerable, and inevitably messy.
- Exhibit B: The stuffed pepper. Soggy, flavor-leached, and droopy.
- Exhibit C: The zucchini boat. Soggy, not at all nautical, and -- as much as I wish it were a mythic creature—very real.
But I make an exception for baked apples. Yes, the apples lose their characteristic crispness. Gone is the crunch we're seeking when we turn to the Pink Lady or the Honeycrisp. Yet this texture is reincarnated in the apples' stuffing, where chewy oats and crunchy nuts come together in a beautiful union. It's nothing like the saggy stuffed pepper or the chili-filled bread bowl, which (to me, at least) are a practice in sog-on-sog. And the apples don't lose any of their flavor, either. Bake them in apple cider or apple juice and you'll come away with the most apple-y apples you've ever tasted.
While I would be a fool to challenge Her Majesty The Apple Pie, who reigns supreme over all other apple desserts, baked apples are a solid choice when you don't feel like stressing out over sticky pie dough. Baked apples will take you directly to the best part of eating an apple crisp -- when the chunky topping and the soft, sweet apple insides come together as one, sharing the space on your spoon in a polyphony of textures and flavors. This process is, of course, facilitated by ice cream.
Here's how to get there—in only 6 steps (including eating):
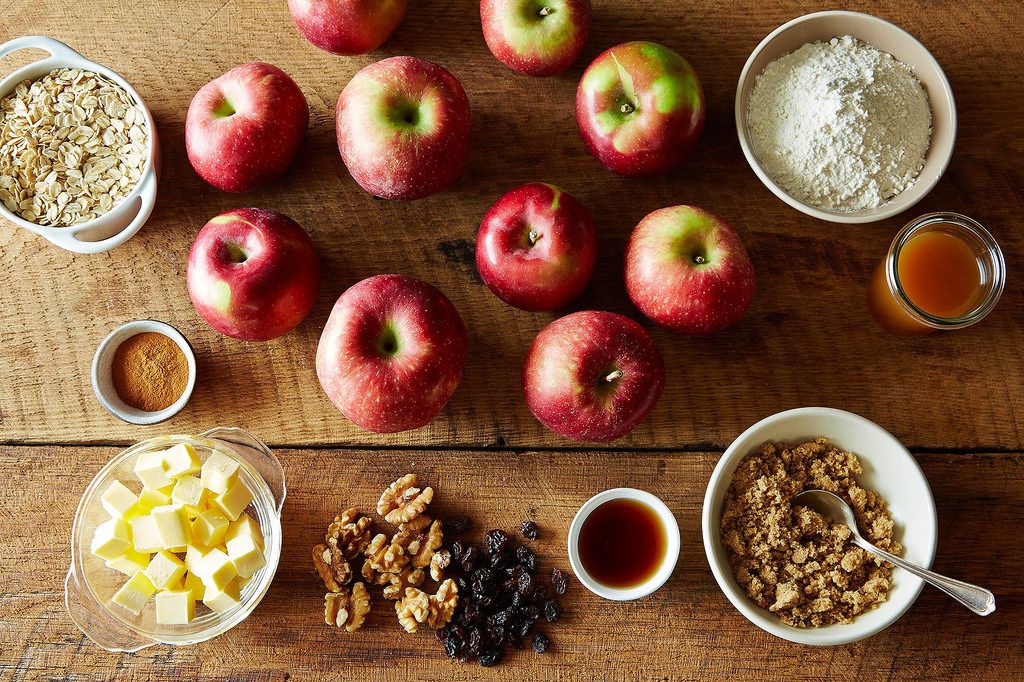
1. Compile your ingredients. Apples are, of course, the most important element. I used some beautiful specimens (Macouns, Jonamacs, and Spartans, specifically) from a local orchard that had been leftover from a photoshoot. Most sturdy baking apples, whether you've picked them yourself or shuttled them home from the grocery store, will work just fine (more advice here!).
You'll also need all the ingredients you'd put in a typical crumble: cold butter, flour, oats, sugar, cinnamon, nuts, and dried fruit. Dig out some liquid sweetener (I used maple syrup) and some type of baking liquid (I used apple cider, but you could go with apple juice, another type of fruit juice, or even water).
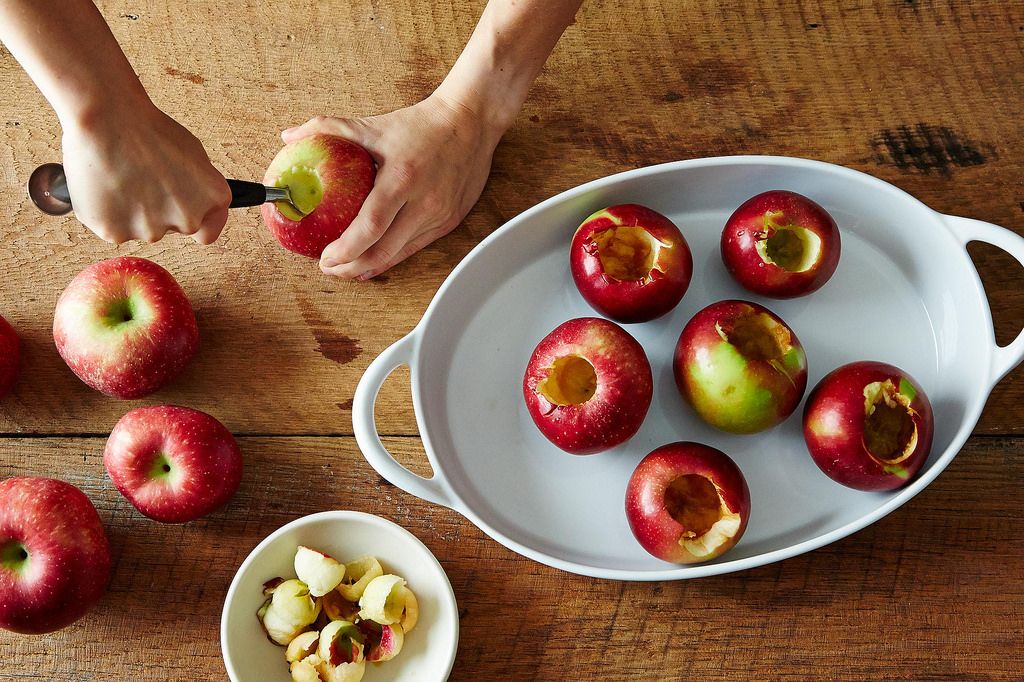
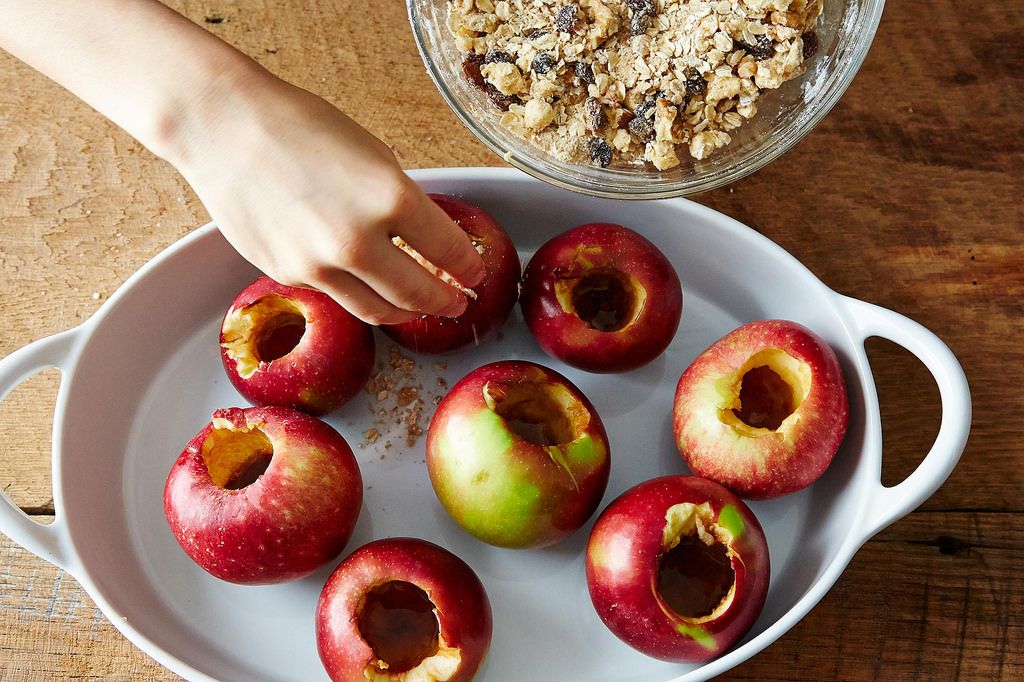
2. Now ready your apples. Leave the skins on (they'll act as floodgates for the gooey apple insides), but remove the stem and the core. You can use a melon baller, a paring knife, or an aggressive spoon. You want a big enough cavity that you'll be able to get a good amount of stuff in the apple, but be sure to leave some of apple flesh, too. It's really the balance that makes baked apples a thing of wonder.
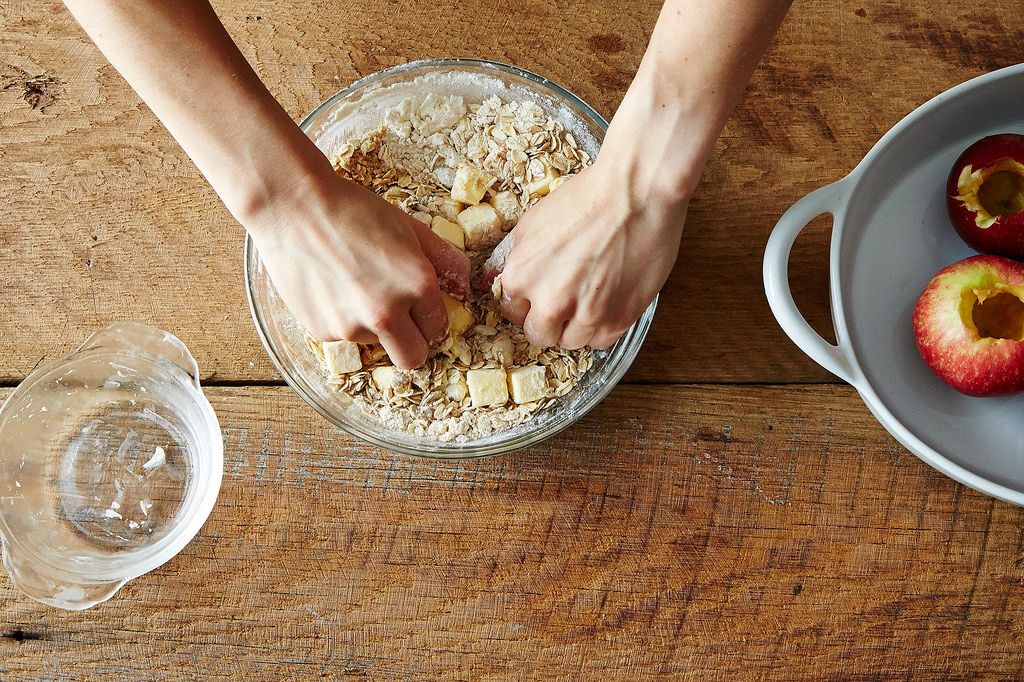
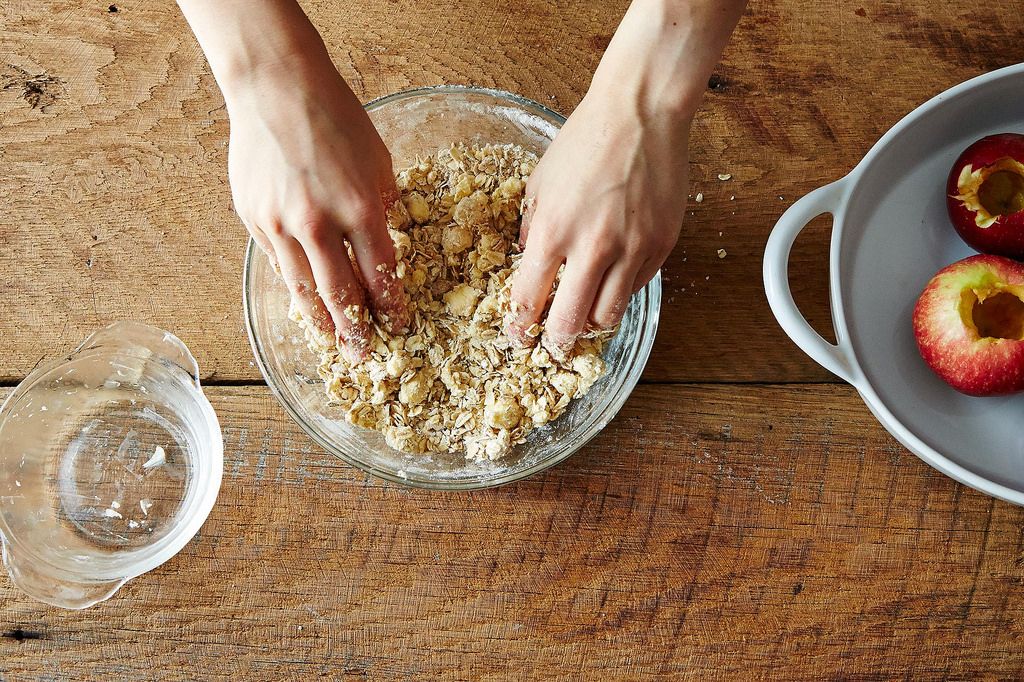
3. Use your crisp and crumble skills to make the filling. Pour your dry ingredients into a mixing bowl—I dumped in roughly equal parts flour and rolled oats (a good two handfuls of each), a generous amount of brown sugar, and a large pinch of cinnamon. If you'd like, use whole-wheat flour, or brown sugar, or different spices. This can be anything you want it to be (try using your favorite granola recipe!). Add the cold butter (I cubed a stick and put it in the freezer to chill as I cored the apples).

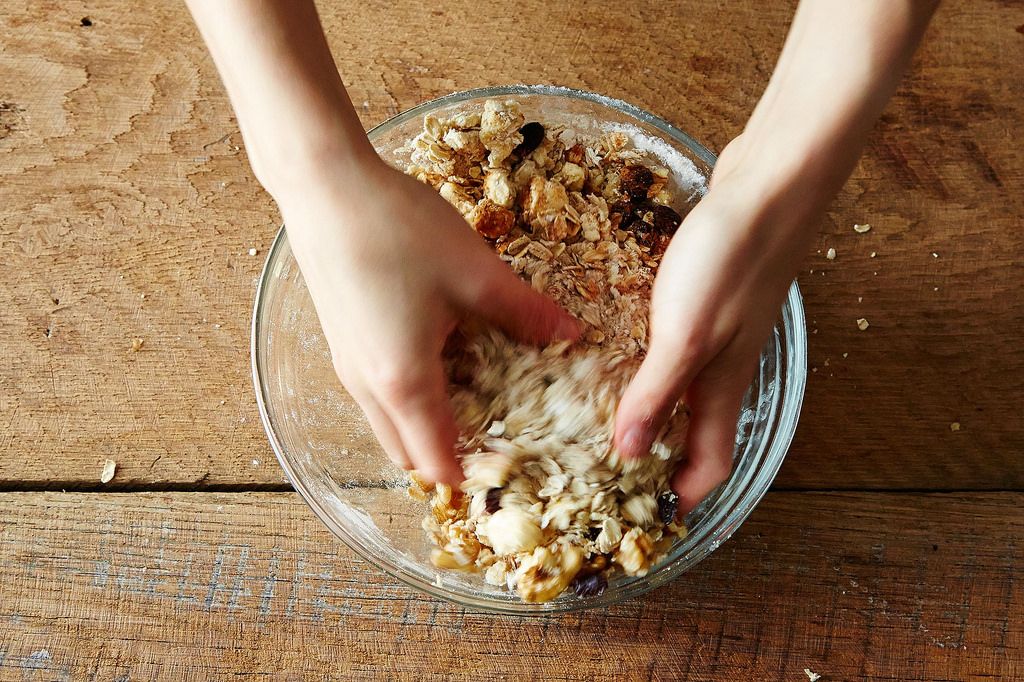
Use your hands to incorporate the butter and the dry ingredients. You might listen to all the very smart people who have opinions on what ratio of butter to dry ingredients you should use, or you might be more like me and just estimate a reasonable amount. When I started mushing the butter into the dry ingredients, using my hands to warm up the frozen chunks, I got a pebbly mixture. Since it wasn't too sandy and it didn't resemble butter with some oats stuck to it, I knew I had estimated well. Don't be afraid of some little stones of butter. Those are going to make your apples delicious.
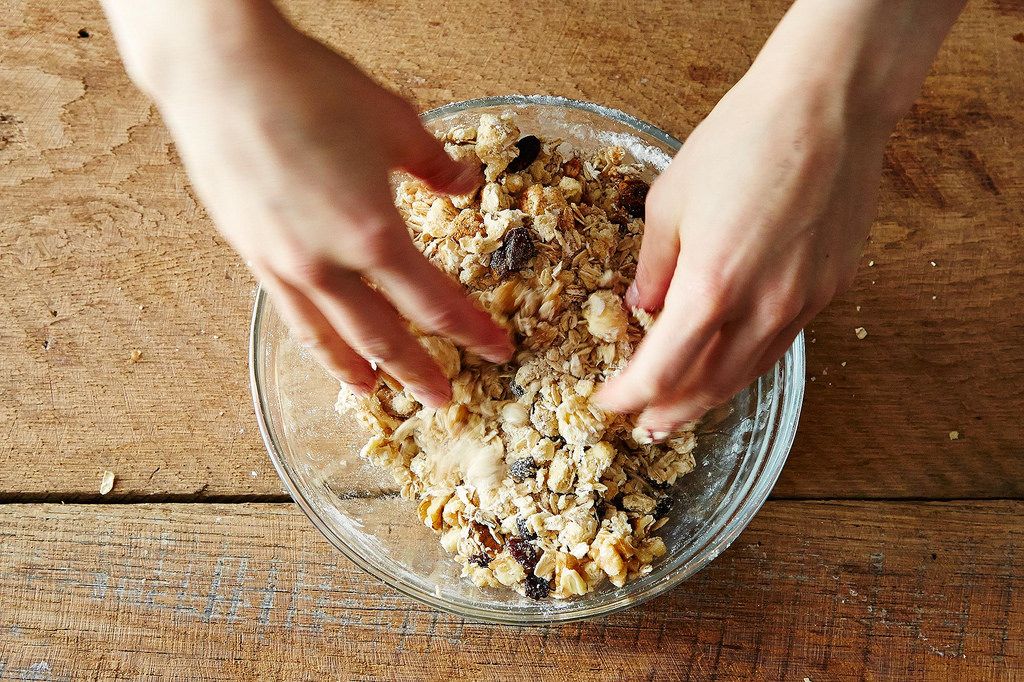
Once you're satisfied with the texture of your crumb filling, mix in some bonus ingredients like nuts, dried fruit, candied ginger, or shredded coconut. I went with walnuts and raisins, but I think pecans and dried cherries would also be an excellent choice.
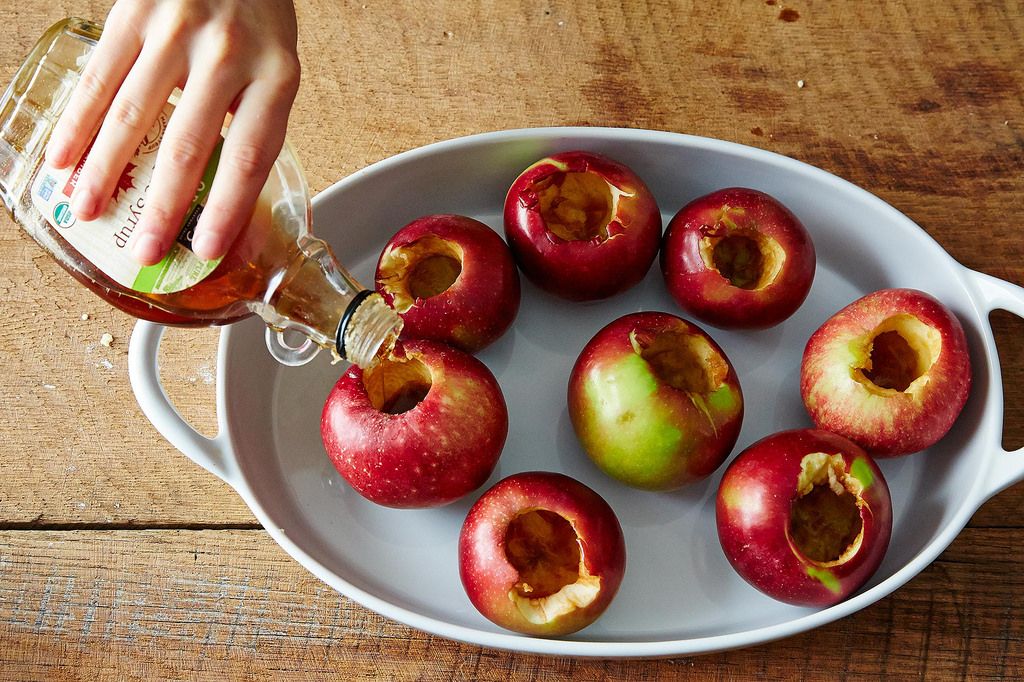
4. Stuff the apples. Set your crumble aside—just for a moment!—and return to the apples. Place them in a large baking dish and fill each one with a bit of maple syrup, honey, or another liquid sweetener of your choice. This will keep the filling nice and moist and leave you with a little surprise of sweetness when you reach the bottom.
Fill every apple with the oat and butter mixture. If you have leftover crumb mixture, do not under any circumstances throw it away. Cut up any fruit you have on hand, toss it with lemon juice and cinnamon-sugar, pour it into a baking dish, top with the rest of the mixture, and send it into the oven when your apples go in. Bonus fruit crisp for you!
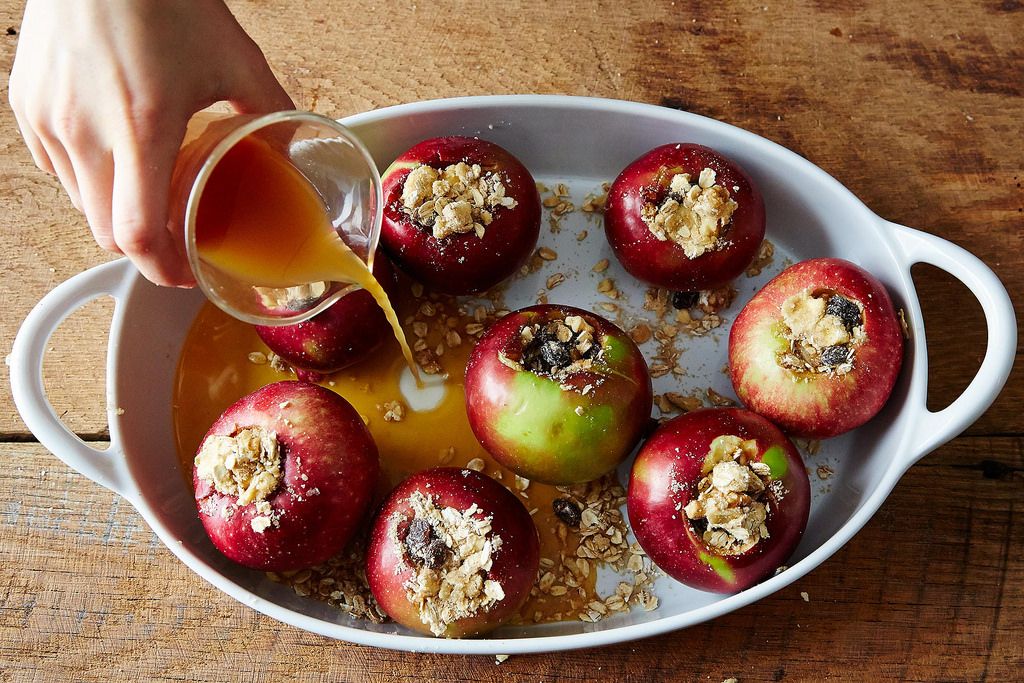
5. It's (almost) time to bake. When you're finished filling all of the apples, pour some liquid into the bottom of the baking dish. This liquid will steam in the oven, helping to gently cook the apples. You can use water, but a fruit juice will add another layer of flavor. Some people use orange or apple juice, but I used apple cider for its tart, purely apple flavor; it resulted in the most apple-tasting apples of all time.
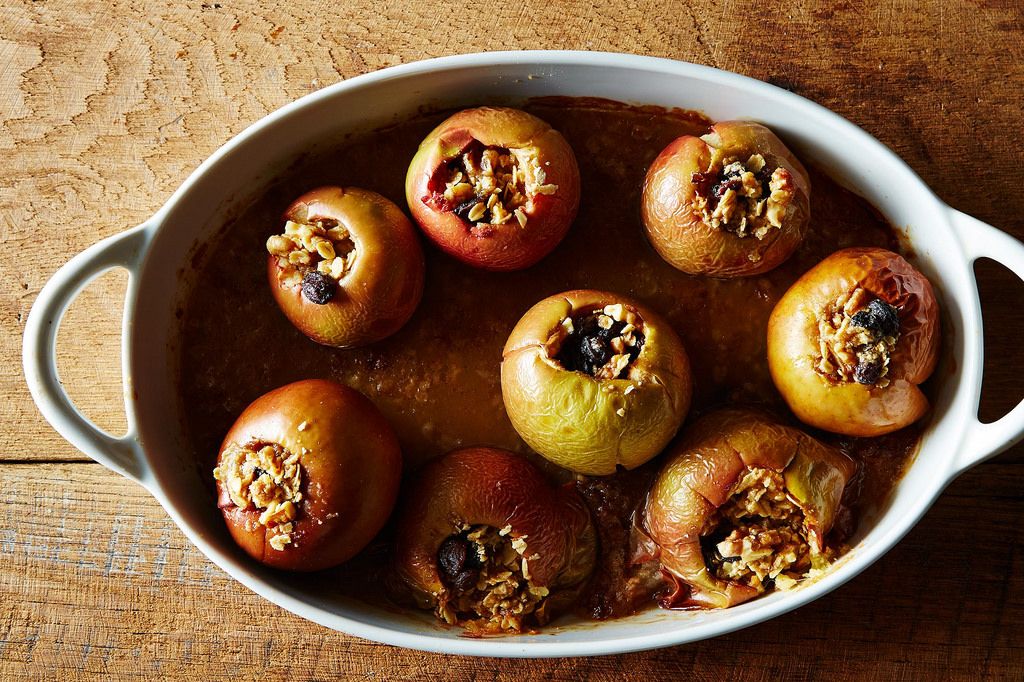
Cover the casserole dish with aluminum foil and send your apples into a hot oven (350 to 400° F). Check them after 40 minutes and take them out when a few are starting to fall apart (these ones are best described as "slack-jawed" with "gaping maws"), the crumb is golden, and the apples are cooked all of the way through.
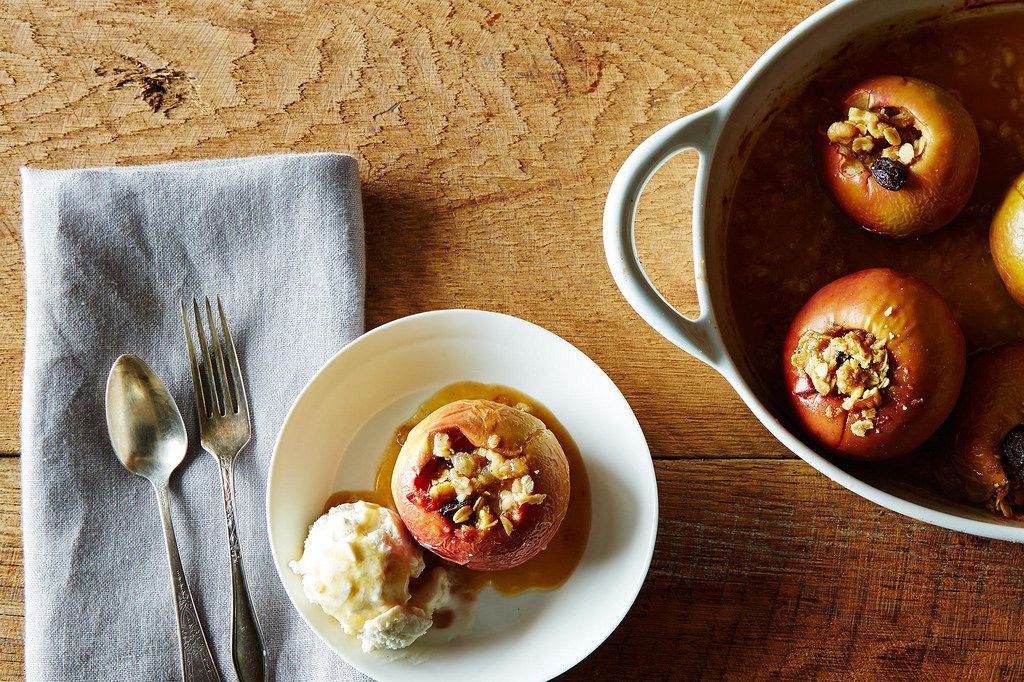
6. Dish out the baked apples and eat them with ice cream. Feed them to guests and let them marvel at your creativity and dessert expertise, or keep them to yourself and hope that apple season never ends.
Photos by James Ransom
This article was written by Sarah Jampel from Food52 and was legally licensed through the NewsCred publisher network. Please direct all licensing questions to legal@newscred.com.